 Save
Save Create irresistible soft, pillowy marshmallows with delicate vanilla sweetness right in your kitchen. These fluffy squares transform hot chocolate into an indulgent treat and make s'mores unforgettable. The process involves blooming gelatin, cooking a sugar syrup to precise temperature, and whipping until tripled in volume for that signature airy texture.
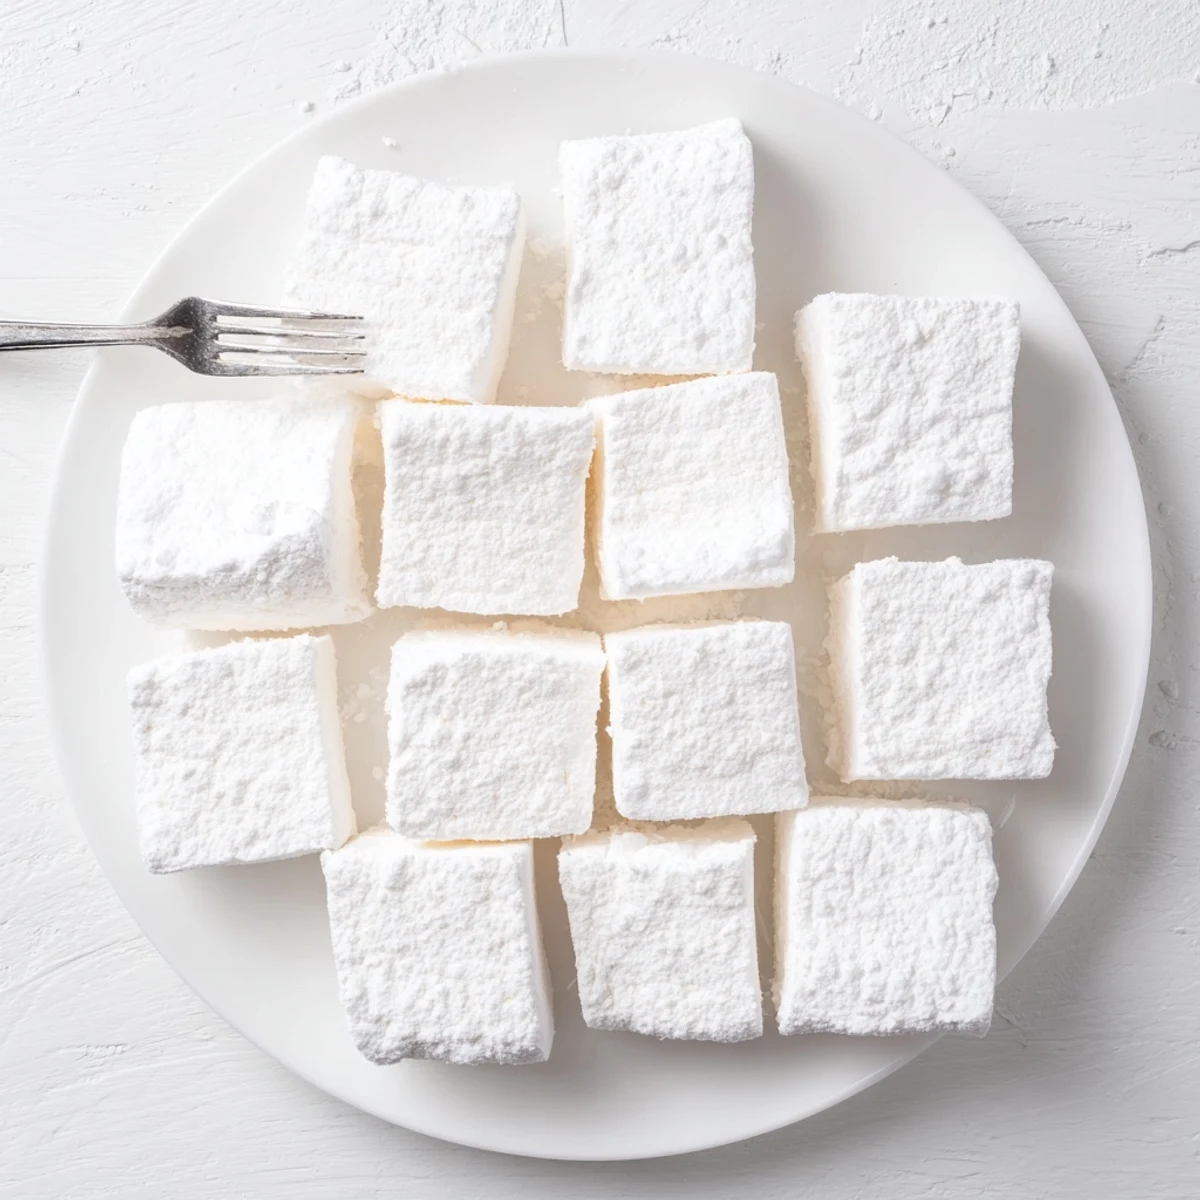
After setting for four hours or overnight, you'll have twenty-four handmade marshmallows that store beautifully for a week. Customization is simple—swap vanilla for peppermint or almond extract, add food coloring for playful hues, or toast them over open flames. The result surpasses anything store-bought, with a fresh, pure flavor and melt-in-your-mouth softness that makes them perfect for gifting, dessert platters, or elevating your favorite hot beverages.
The winter I first attempted homemade marshmallows, my tiny apartment kitchen smelled like a carnival. I had this romantic notion that floating little white clouds into hot cocoa would somehow make February feel less gray. My first batch was a sticky disaster that cemented itself to every surface, but that one perfect square I managed to salvage changed everything about how I thought about homemade candy.
Last December I made triple batches for holiday gifts, packing them into mason jars with ribbons. My brother called me at midnight to confess he had eaten half his jar straight from the bedside table. Something about making something so playful and indulgent feels like giving permission to be a kid again, even when adult life feels overwhelming.
Ingredients
- Granulated sugar: The foundation of your syrup, measure precisely for proper setting
- Light corn syrup: Prevents crystallization and keeps marshmallows tender and chewy
- Unflavored gelatin: Essential for structure, bloom it properly or your marshmallows will never set
- Pure vanilla extract: Use the real thing since artificial never quite disappears into the sweet fluff
- Confectioners sugar and cornstarch: This coating is absolutely crucial for preventing the dreaded sticky mess
Instructions
- Prepare your pan and coating:
- Mix the coating ingredients together generously and dust your parchment lined pan well, keeping extra aside for later. This step cannot be skipped or you will regret it forever.
- Bloom the gelatin:
- Combine gelatin with cold water in your stand mixer bowl and let it sit while you make the syrup. Ten minutes feels long but this hydration is non negotiable.
- Make the sugar syrup:
- Heat sugar, corn syrup, water and salt until dissolved, then boil without stirring until your thermometer hits exactly 240 degrees. Patience here prevents grainy marshmallows.
- Combine and whip:
- With mixer running on low, carefully stream in that dangerously hot syrup. Turn to high and whip for eight to ten minutes until the mixture has tripled and feels like cool clouds.
- Add flavor and set:
- Fold in vanilla then quickly scrape into your prepared pan. Smooth the top with a wet spatula and dust immediately with coating before it dries.
 Save
Save My friend Sarah tried to make these without a thermometer once and ended up with marshmallow flavored glue. She still talks about it three years later whenever someone suggests homemade candy. The real breakthrough moment comes when you first cut into the set slab and these perfect little cubes tumble out, covered in snowy white sugar.
Flavor Variations Worth Trying
Peppermint extract transforms these into holiday staples that float beautifully in hot chocolate. I once made a batch with toasted almond extract that tasted suspiciously like the inside of a chocolate bar. Lemon extract in spring feels like sunshine on a cloudy day. Food coloring is completely optional but sometimes pink or blue marshmallows just make people smile harder.
Setting Time Patience
The four hour minimum setting time feels excruciating when you are excited to taste them. I have learned that overnight really produces the best texture and makes cutting so much easier. Rushing this step is almost always disappointing because the center remains slightly gummy instead of perfectly fluffy.
Storage Secrets
Airtight containers keep them fresh for about a week before they start getting weirdly hard. Humidity is marshmallow enemy number one so avoid storing them uncovered on rainy days.
- Keep a small dish of your sugar coating nearby when cutting to dust sticky edges
- A pizza cutter works surprisingly well for creating uniform squares
- These make incredible homemade s'mores that will ruin you for store bought forever
 Save
Save There is something deeply satisfying about making something so purely whimsical in your own kitchen. Now every time I drop one into steaming hot chocolate, I remember that first sticky winter attempt and smile.
Recipe FAQs
- → How long should I let the marshmallows set before cutting?
-
Let the marshmallows sit uncovered at room temperature for at least 4 hours, though overnight setting is preferred. This ensures the interior fully sets and firms up for clean cutting. Patience during this step prevents sticky, uneven edges when slicing.
- → Can I make these without a stand mixer?
-
A stand mixer is strongly recommended because whipping hot sugar syrup requires 8-10 minutes of continuous high-speed beating to achieve proper volume. Hand mixers may overheat, and hand-whipping is extremely difficult with this mixture. If you must use alternatives, work in very small batches.
- → Why did my marshmallows turn out sticky or gooey?
-
Sticky marshmallows usually mean the sugar syrup didn't reach 240°F (115°C), or they weren't whipped long enough to triple in volume. Always use a candy thermometer for accuracy. Also ensure you generously dust all cut sides with the confectioners' sugar-cornstarch coating to prevent surface stickiness during storage.
- → How should I store homemade marshmallows?
-
Store in an airtight container at room temperature for up to one week. Layer between parchment paper to prevent sticking. Avoid refrigeration, which introduces moisture and makes them soggy. For longer storage, freeze in freezer bags for up to 3 months—thaw at room temperature before enjoying.
- → Can I substitute the corn syrup?
-
Light corn syrup helps prevent sugar crystallization and contributes to the chewy texture. Glucose syrup is a perfect 1:1 substitute. Honey or maple syrup alters flavor significantly and affects texture—these work but produce different results. Avoid using granulated sugar alone, as the syrup may crystallize during cooking.
- → Are these marshmallows suitable for vegetarians?
-
Standard marshmallows contain gelatin, an animal-derived ingredient, making them unsuitable for vegetarians and vegans. However, these are gluten-free and nut-free when using ingredients verified for cross-contamination. For plant-based alternatives, consider agar-agar or specialized vegan gelatin substitutes, though texture results will vary.