 Save
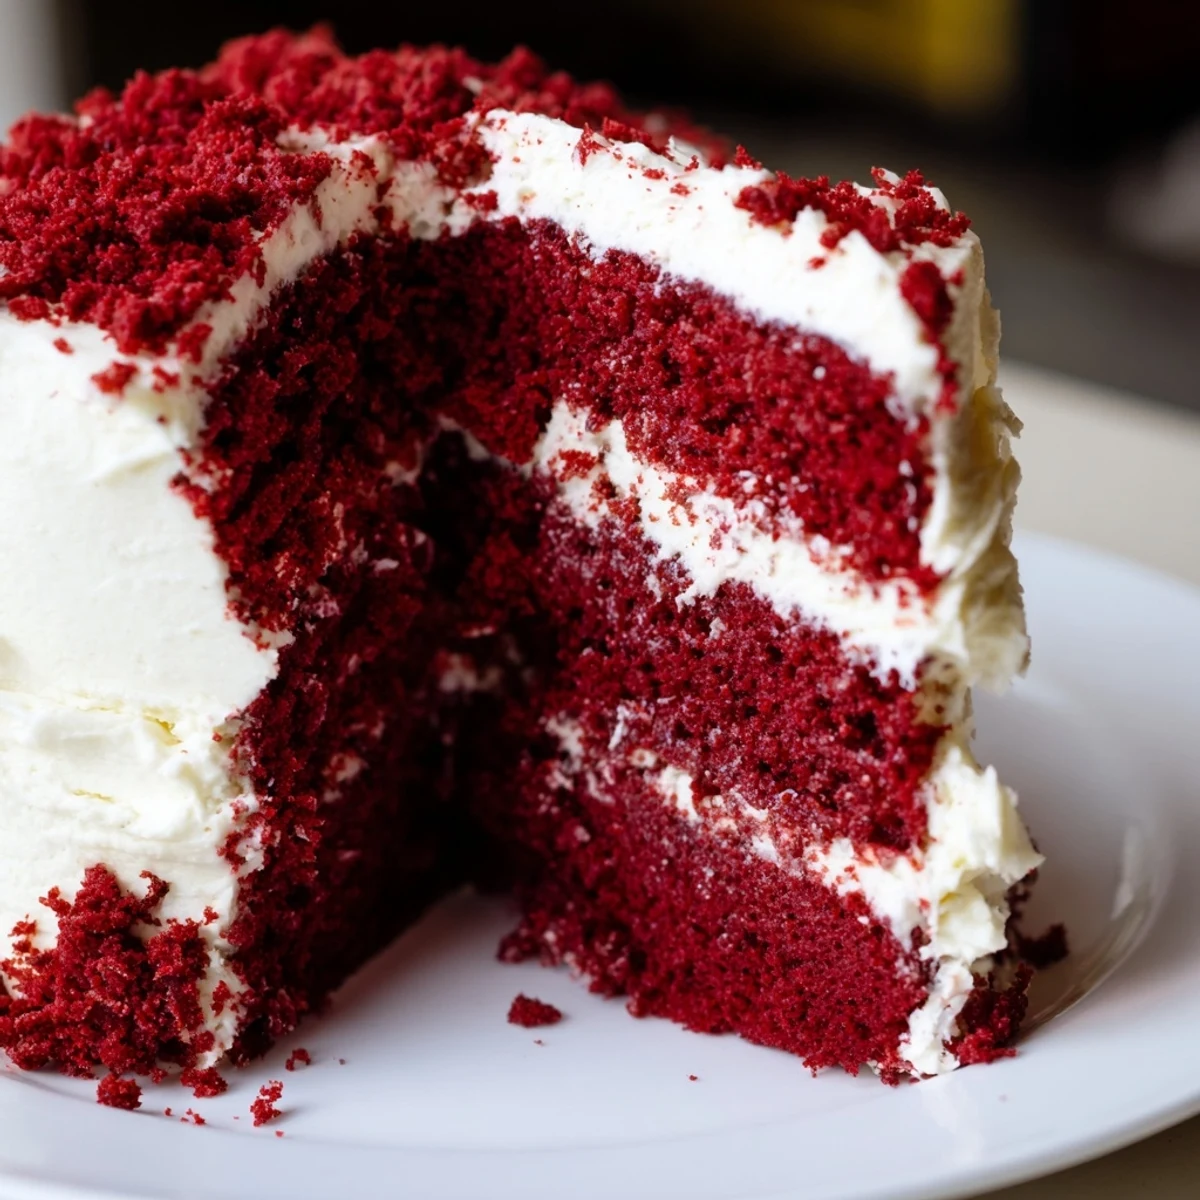
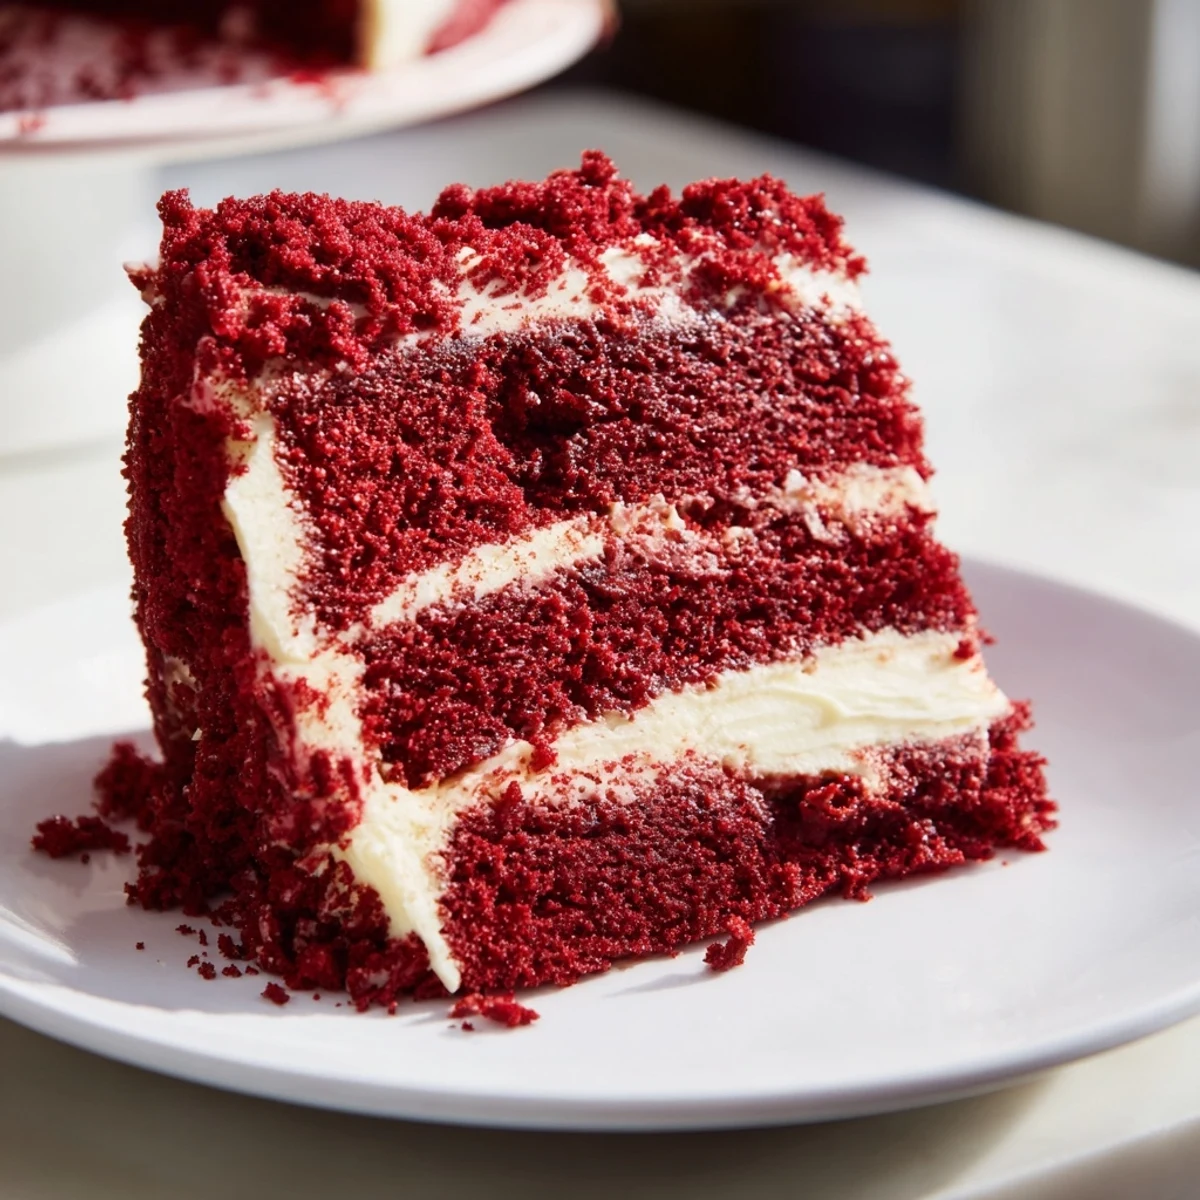
Save This classic red velvet cake features incredibly moist layers with just the right hint of cocoa. The vibrant red crumb pairs beautifully with tangy, fluffy cream cheese frosting. Ready in about an hour, this stunning dessert serves 12 and works beautifully for birthdays, holidays, or any celebration worth remembering.
My sister showed up at my door last February with a bottle of red food coloring and determination in her eyes. We had three hours before our mom's birthday dinner and zero plan for dessert. That afternoon turned into flour-dusted counters, cocoa powder sneezes, and the discovery that red velvet cake somehow makes everything feel like a celebration.
Last summer I made this for my neighbor's porch birthday party. Her six-year-old granddaughter took one bite and declared it better than the bakery version. There is something genuinely magical about cutting into that vibrant red layer and watching everyone's faces light up.
Ingredients
- 2 1/2 cups all-purpose flour: Sifting this first prevents any lumps and keeps the crumb tender
- 1 1/2 cups granulated sugar: This amount hits the sweet spot without masking the subtle cocoa notes
- 1 teaspoon baking soda: The real lift behind that signature velvet softness
- 1 teaspoon fine salt: Don't skip this, it wakes up all the other flavors
- 1 tablespoon unsweetened cocoa powder: Just enough for a gentle chocolate whisper, nothing overpowering
- 1 1/2 cups vegetable oil: Oil keeps this cake moist for days unlike butter cakes that dry out
- 1 cup buttermilk: Room temperature is non-negotiable for proper emulsification
- 2 large eggs: Also at room temperature, trust me on this
- 2 tablespoons red food coloring: This creates that classic dramatic hue we all expect
- 1 teaspoon vanilla extract: Use the good stuff if you have it
- 1 teaspoon white vinegar: Reacts with the baking soda for extra tenderness
- 8 oz cream cheese: Full fat and completely softened prevents lumpy frosting
- 1/2 cup unsalted butter: Softened but not melting, this structure matters
- 4 cups powdered sugar: Sifting first saves you so much frustration later
- 1 teaspoon vanilla extract: For the frosting, same quality rule applies
- Pinch of salt: Balances the sweetness in the frosting beautifully
Instructions
- Preheat your oven:
- Get it to 350°F and grease two 9-inch round pans with butter and dust them with flour
- Whisk the dry team:
- Sift flour, sugar, baking soda, salt, and cocoa into a medium bowl
- Mix the wet team:
- In a large bowl, whisk oil, buttermilk, eggs, food coloring, vanilla, and vinegar until completely combined
- Bring them together:
- Gradually fold the dry ingredients into the wet, mixing only until smooth
- Divide and bake:
- Split batter evenly between pans and bake 28 to 30 minutes until a toothpick comes out clean
- Cool completely:
- Let cakes rest 10 minutes in pans, then move to a wire rack
- Make the frosting:
- Beat cream cheese and butter until creamy, then gradually add powdered sugar, vanilla, and salt until fluffy
- Assemble:
- Spread frosting between layers and over the top and sides
- Chill briefly:
- Thirty minutes in the fridge gives you cleaner, prettier slices
 Save
Save My aunt now requests this cake for every family gathering. It has become our celebration standard, the thing that marks birthdays, promotions, and random Tuesdays that need brightening up.
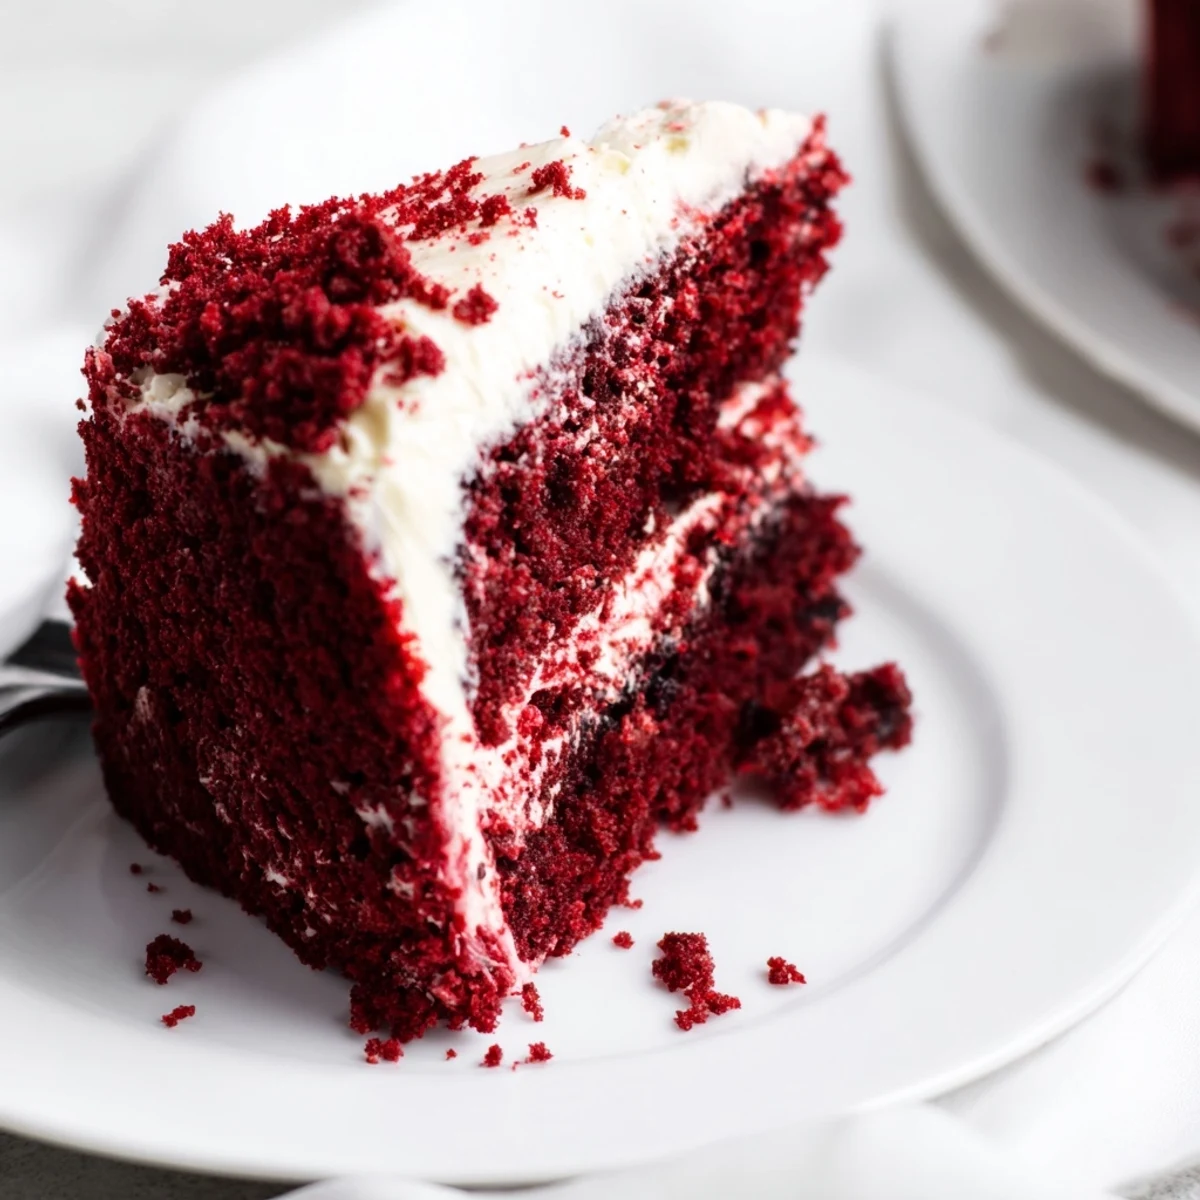
Getting That Perfect Red Color
Natural food coloring works but gives more of a rust tone. If you want that classic vibrant red, gel coloring actually requires less liquid than traditional drops. The color deepens slightly as it bakes, so do not panic if it looks bright going into the oven.
Making It Ahead
The unfrosted layers freeze beautifully for up to a month. Wrap them tightly in plastic wrap while still slightly warm, then thaw at room temperature before frosting. The frosted cake keeps well in the refrigerator for three to four days, though it rarely lasts that long in my house.
Serving Suggestions
This cake deserves to be the star, but fresh berries or a dusting of cocoa powder on top never hurt anyone. I have also seen people garnish with chocolate curls or edible flowers for extra drama.
- Serve at room temperature for the softest texture
- Use a hot knife for the cleanest slices between layers
- A glass of cold milk or hot coffee complements it perfectly
 Save
Save Hope this red velvet brings as much joy to your kitchen as it has to mine. Happy baking, friend.
Recipe FAQs
- → What makes red velvet cake different from chocolate cake?
-
Red velvet has a subtle cocoa flavor compared to traditional chocolate cake. The buttermilk and vinegar create a tender, moist crumb, while cream cheese frosting provides the signature tangy finish that sets it apart.
- → Why did my red velvet cake turn brown instead of red?
-
The red color comes from food coloring interacting with cocoa's natural acidity. Using high-quality gel food coloring or increasing the amount of liquid coloring helps achieve that classic vibrant red hue.
- → Can I make red velvet cake ahead of time?
-
Yes! The unfrosted layers can be wrapped in plastic and stored at room temperature for one day or frozen for up to three months. Thaw completely before frosting and serving.
- → How do I prevent my cream cheese frosting from being too runny?
-
Make sure both cream cheese and butter are softened but not melted. Chill the frosted cake for 30 minutes before serving to help the frosting set. Adding powdered sugar gradually also helps achieve the right consistency.
- → What's the best way to get clean slices when serving?
-
Chill the frosted cake for at least 30 minutes before cutting. Use a sharp knife dipped in hot water and wiped clean between slices for the cleanest presentation.
- → Can I use natural food coloring instead of artificial?
-
Beet juice or raspberry puree can provide natural red tint, though the color will be more subtle. You'll need to adjust liquid ingredients slightly to maintain the proper batter consistency.