 Save
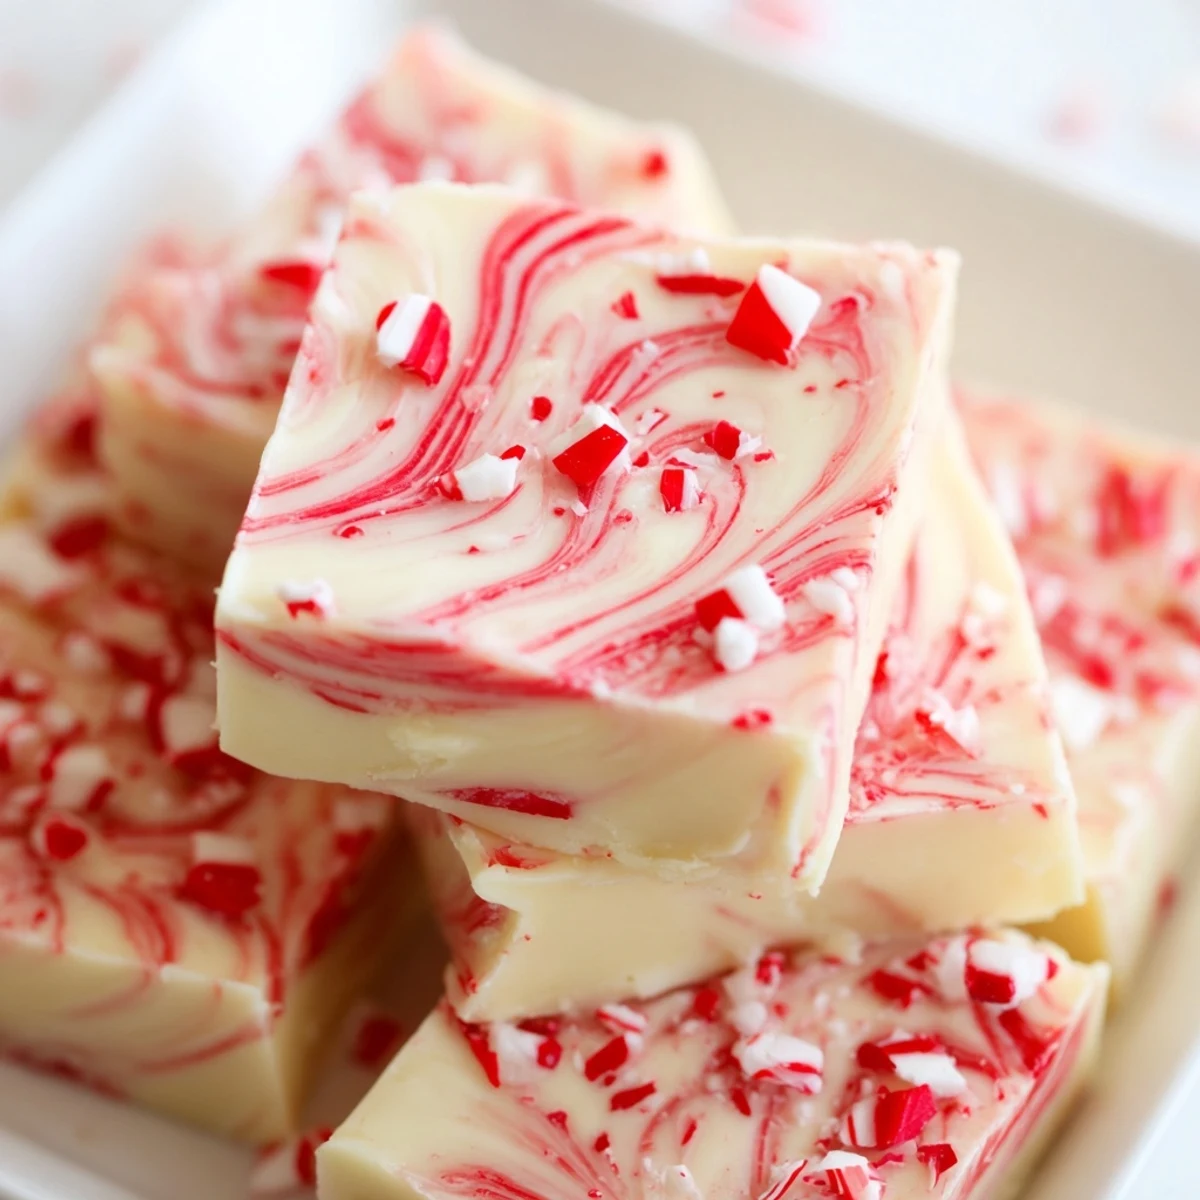
Save This indulgent fudge combines smooth white chocolate with sweetened condensed milk for an incredibly creamy texture. The peppermint swirl creates a beautiful marbled effect, while crushed candy canes add festive crunch and extra minty flavor. Perfect for holiday gifting or serving at winter gatherings.
One Christmas Eve, I found myself up at midnight with no treats left for Santa's inevitable visit. My grandmother's fudge recipe came to the rescue, but with a twist—I swirled in peppermint extract and red coloring to make something that looked like winter itself had been captured in chocolate. The red ribbons against the creamy white made such a striking pattern that I've made it every holiday since.
Last year, I brought a batch to my office holiday party and watched three different people ask for the recipe within ten minutes. My coworker Sarah said it reminded her of the fudge her grandmother used to make, which is about the highest compliment I can imagine receiving. Now it's become my go-to when I need something that feels special but doesn't require hours in the kitchen.
Ingredients
- White chocolate chips (2 cups/340g): High-quality white chocolate makes all the difference here—cheap chips can seize and become grainy instead of smooth
- Sweetened condensed milk (14 oz/397g): This creates the creamy, melt-in-your-mouth texture that makes fudge so irresistible
- Unsalted butter (2 tbsp): Just enough to add richness without making the fudge too soft
- Peppermint extract (½ tsp): A little goes a long way—this provides that refreshing minty flavor
- Red gel food coloring: Gel coloring works better than liquid because it won't thin out your fudge mixture
- Crushed peppermint candies or candy canes (¼ cup/30g): Adds a lovely crunch and makes the fudge look even more festive
Instructions
- Prepare your pan:
- Line an 8x8-inch baking pan with parchment paper, letting the edges hang over the sides so you can easily lift the fudge out later
- Melt the base:
- Combine white chocolate chips, sweetened condensed milk, and butter in a medium saucepan over low heat, stirring constantly until everything melts into a smooth, glossy mixture
- Add the peppermint:
- Remove from heat immediately and stir in the peppermint extract, working quickly since the mixture will start to set as it cools
- Create the layers:
- Pour about three-quarters of the white mixture into your prepared pan, spreading it evenly with a spatula
- Make the swirl:
- Add red gel food coloring to the remaining mixture in your saucepan, stir until fully colored, then drop spoonfuls over the white layer
- Marble the colors:
- Use a knife or skewer to gently swirl the red and white together—dont overdo it or you'll lose the distinct swirl pattern
- Add the crunch:
- Sprinkle crushed peppermint candies over the top and press them gently into the surface so they stick
- Set completely:
- Refrigerate for at least 2 hours until firm, then lift out using the parchment paper and cut into squares
 Save
Save The first time I made this, I got too enthusiastic with the swirling and ended up with pink fudge instead of beautiful marbled swirls. It still tasted delicious, but I learned that a gentle hand creates the most stunning patterns. Now I think of each batch as a little piece of edible art.
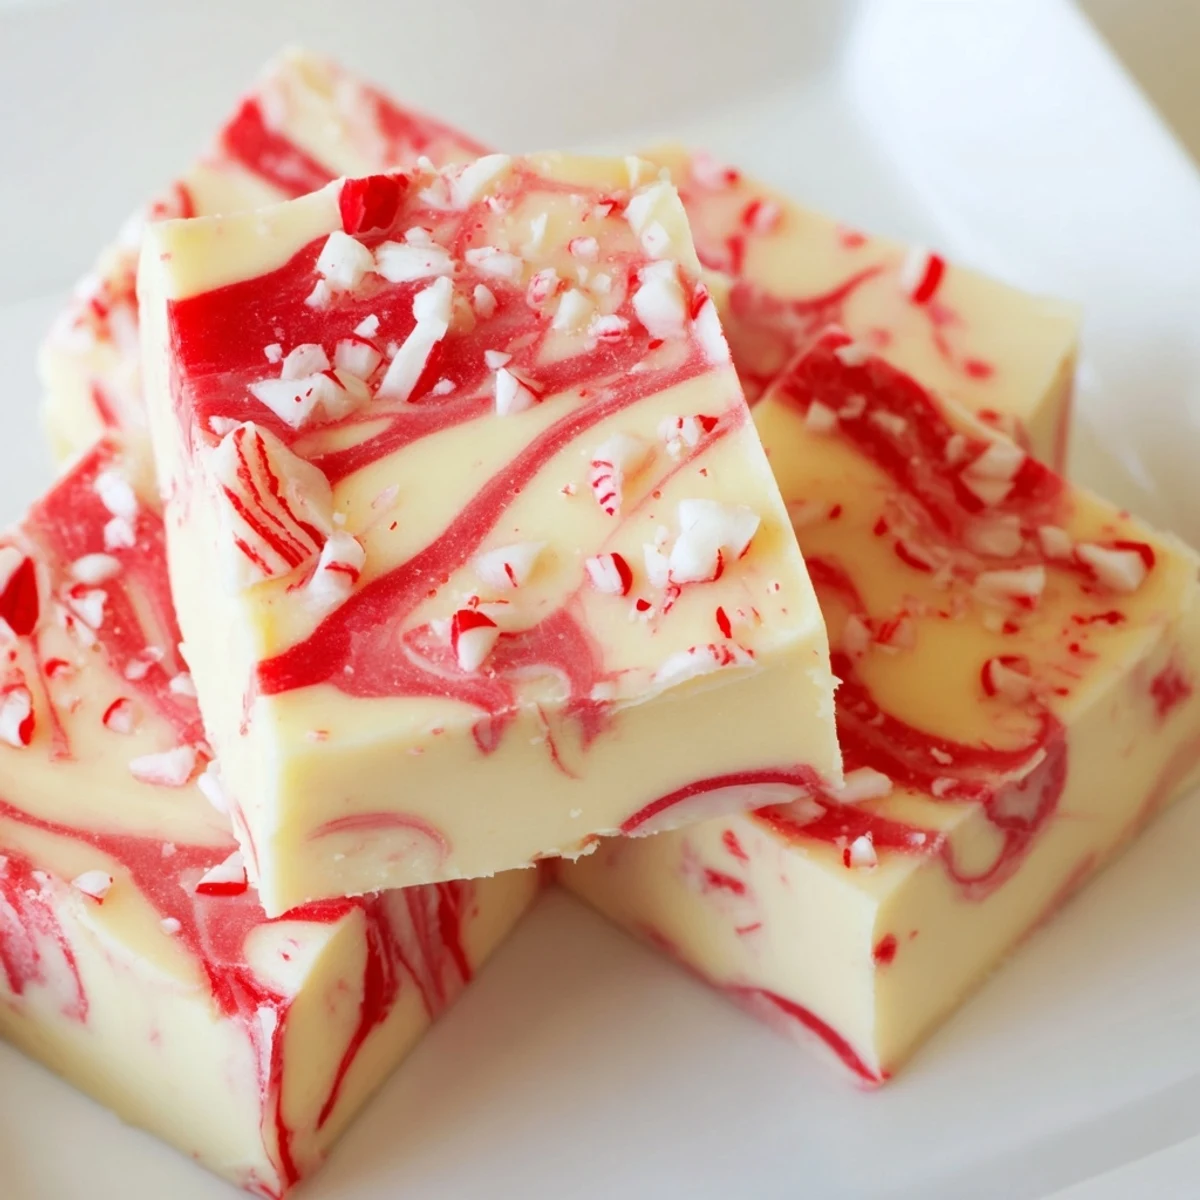
Getting The Perfect Swirl
The key to those gorgeous ribbons of red and white is dropping the colored mixture in distinct dollops rather than drizzling it. Think polka dots, not lines—this gives you more control over the marbling. When you swirl, go just once or twice through each dollop and resist the urge to keep going. Less is definitely more when it comes to creating those dramatic patterns.
Choosing Your White Chocolate
I've learned through trial and error that not all white chocolate is created equal. Some brands contain more vegetable oil than actual cocoa butter, and they simply won't melt into that silky smooth consistency you want. Look for white chocolate that lists cocoa butter as one of the first ingredients—it costs a bit more but the texture difference is remarkable.
Making It Your Own
Once you've mastered the basic technique, there are so many ways to customize this fudge to your taste or the occasion. The base method stays the same, but you can change the extract, coloring, and toppings to create entirely different effects.
- Try almond extract with green coloring for a mint chocolate look
- Swap the crushed candy canes for chopped pistachios or toasted coconut
- Make it even more festive by drizzling with melted dark chocolate once chilled
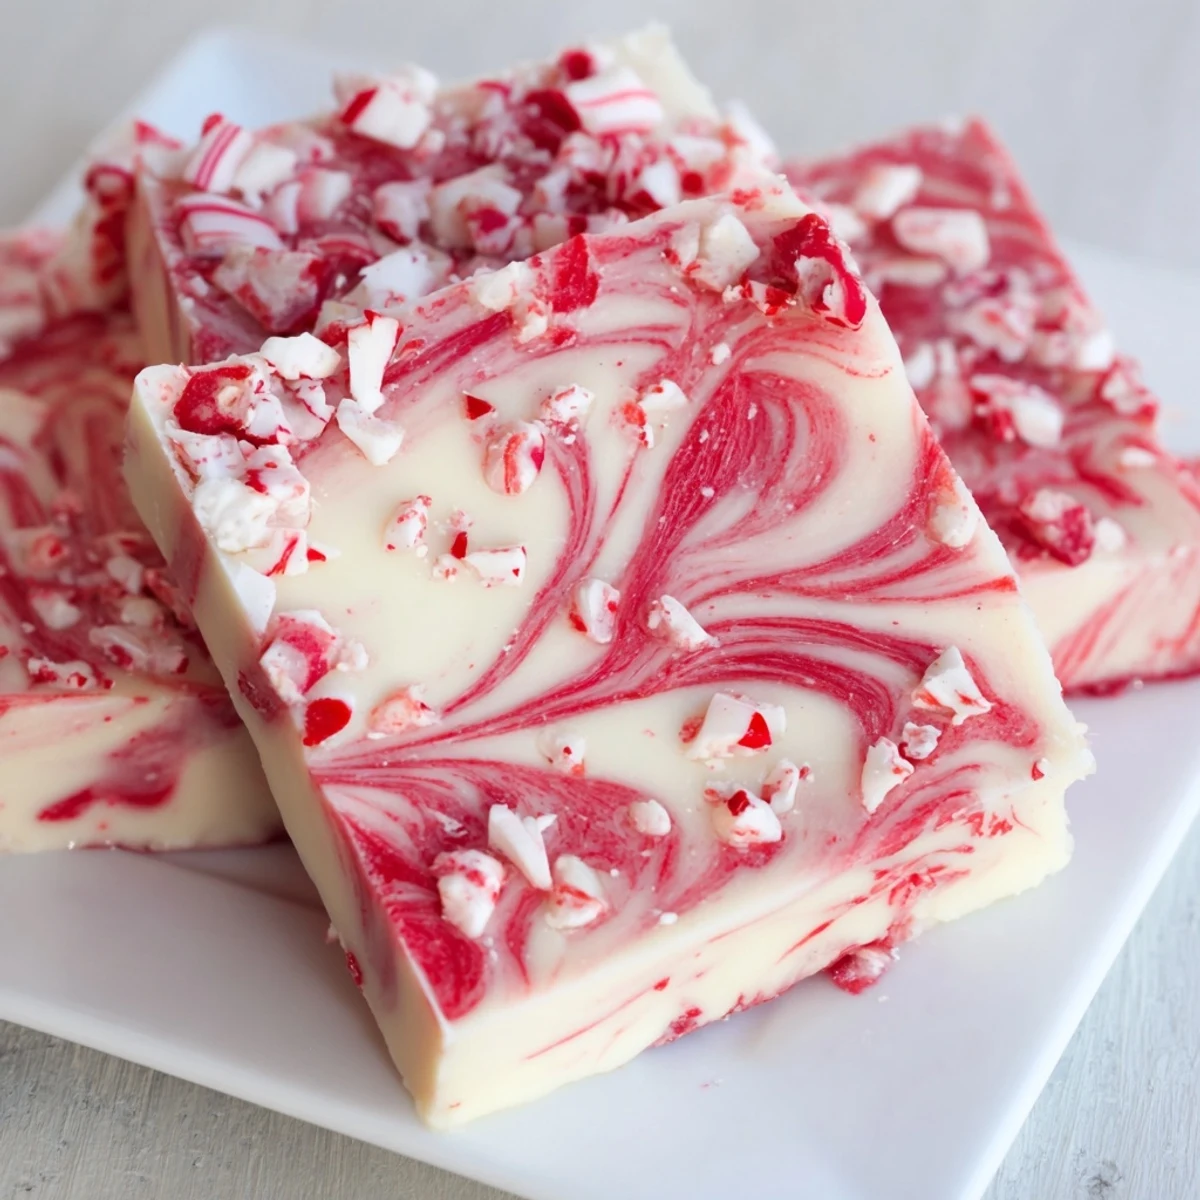 Save
Save Every December, my kitchen becomes a fudge factory and this peppermint version is always the first to disappear. There's something magical about cutting into that first square and seeing the swirl pattern you created—like unwrapping a little present you made yourself.
Recipe FAQs
- → How long does peppermint fudge need to set?
-
The fudge requires at least 2 hours in the refrigerator to fully set. For best results, let it chill overnight before cutting into clean, neat squares.
- → Can I make this fudge ahead of time?
-
Yes, this fudge stores beautifully in an airtight container in the refrigerator for up to 2 weeks. It also freezes well for up to 3 months—just thaw overnight in the fridge before serving.
- → What's the best way to get clean cuts?
-
Use a sharp knife warmed under hot water and wiped dry between cuts. Let the fudge sit at room temperature for 5-10 minutes before slicing for the cleanest edges.
- → Can I use liquid food coloring instead of gel?
-
Gel food coloring works best as it won't thin the fudge mixture. Liquid coloring can affect the texture, but if you must use it, add just 1-2 drops and work quickly.
- → How do I store peppermint fudge?
-
Store in an airtight container between layers of wax paper in the refrigerator. The cool temperature keeps the fudge firm and prevents the candy canes from becoming sticky.