 Save
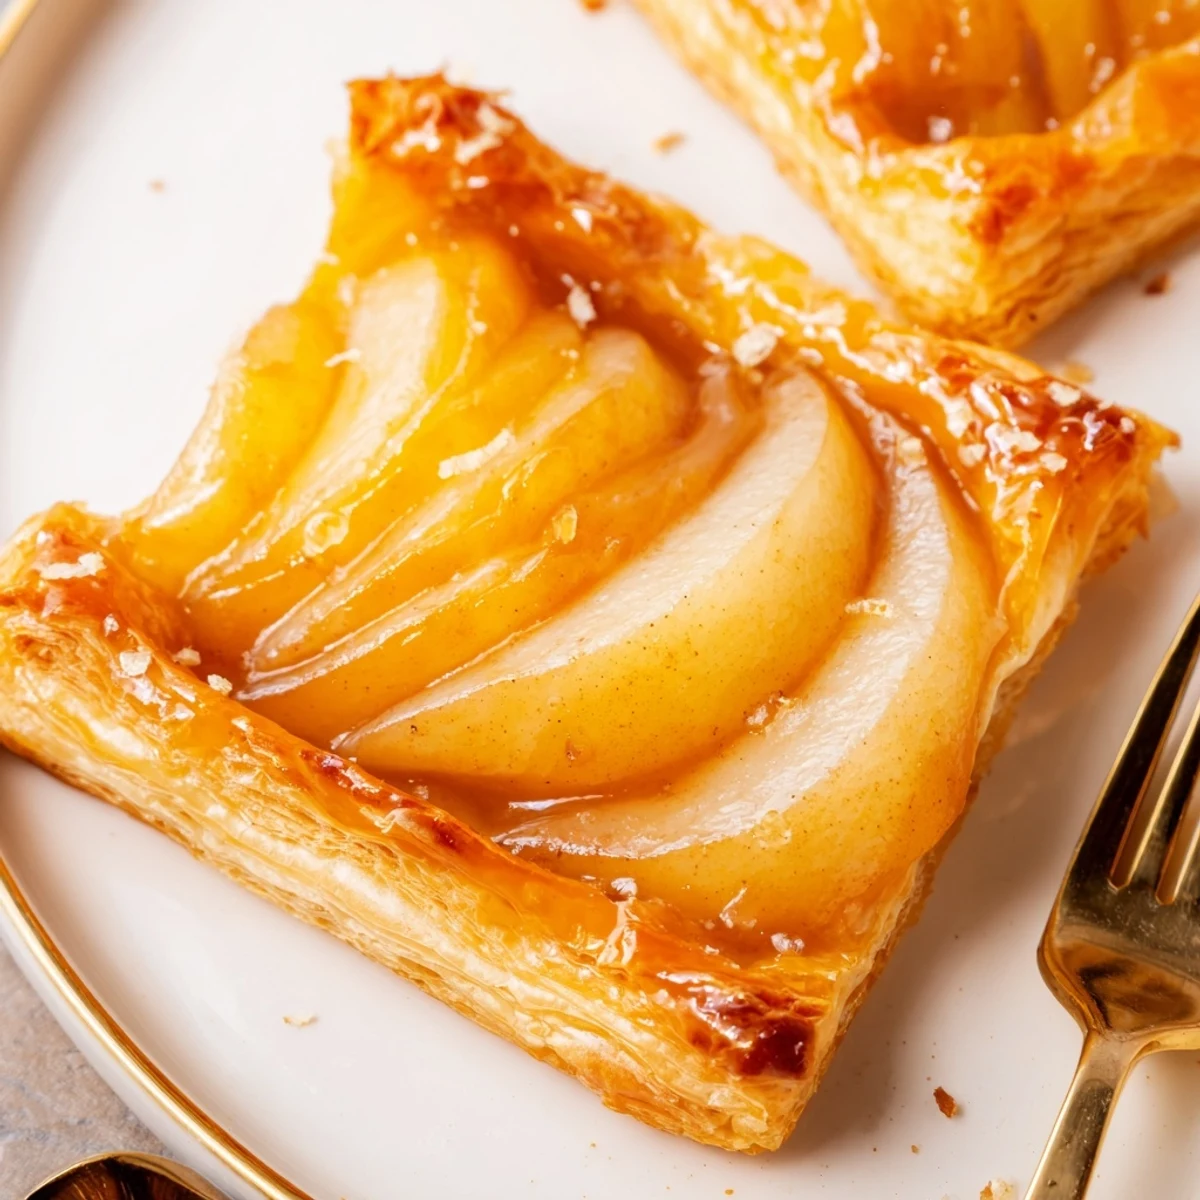
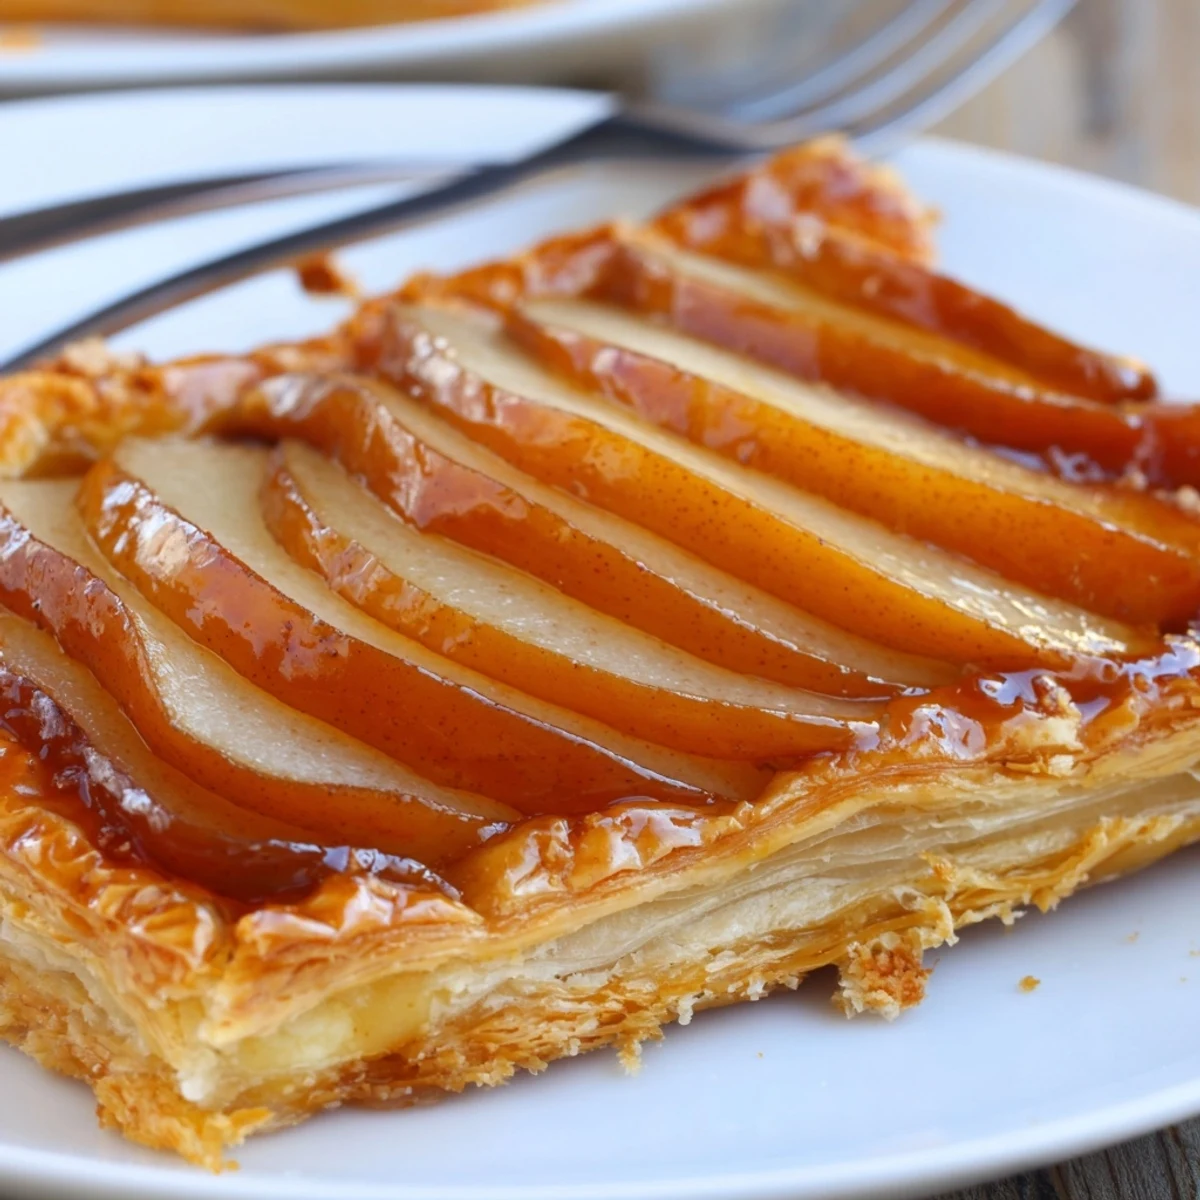
Save This French-inspired dessert layers tender pear slices on thawed puff pastry, then bakes at 200°C (400°F) for 20–25 minutes until golden and puffed. Brush edges with beaten egg for a glossy rim and warm apricot jam with a splash of water to glaze the fruit while still warm. Serve warm or at room temperature; finish with toasted nuts or a scoop of vanilla ice cream for contrast.
The first time I made these pear puff pastries, the kitchen quickly filled with a buttery aroma that had everyone peeking in to see what was baking. There's something quietly exciting about working with puff pastry; it's like a promise that, in mere minutes, you’ll have something flaky and special. I remember marveling as the pears released their juices, turning everyday fruit into something dessert-worthy. Even before the pastries came out of the oven, their sweet, spiced scent hinted at just how delightful they'd taste.
One rainy evening, I baked a batch of these for friends who had come over unexpectedly—it turned into a laughter-filled tea hour, the pastries vanishing before the kettle finished boiling. Watching everyone break the pastry open, warm steam curling into the air, made the simple act of baking feel quietly momentous.
Ingredients
- Ripe pears: The juicier, the better—look for pears with a little give when pressed, and don’t worry if they bruise a bit when peeling.
- Granulated sugar: Just a bit draws out the pears’ natural sweetness without masking their fresh flavor.
- Lemon juice: A splash of this keeps the pears from browning and brightens the filling.
- Ground cinnamon: Adds cozy warmth; give your spice jar a shake to wake it up before adding.
- Frozen puff pastry: Let it thaw until flexible but still chilled for easier rolling and flakier results.
- Egg: Beaten for that glossy bakehouse shine (skip or sub for a vegan version).
- Apricot jam: The finishing glaze that makes the pastries gleam—strain out any lumps if you like a smoother look.
- Water: Just enough to loosen the jam for brushing.
- All-purpose flour: Lightly dust your work surface to keep pastry from sticking—it’ll save you some clean-up headache.
Instructions
- Get everything ready:
- Start by heating your oven to 200°C (400°F) and lining a baking sheet—this way you don’t have to scramble once pastry is cut.
- Mix the pears:
- Gently toss the sliced pears with sugar, lemon juice, and cinnamon in a bowl; inhale the scent and sneak a taste if you’re curious.
- Shape the pastry:
- Roll out the thawed puff pastry on a floured surface, smoothing out any seams, then cut into six even rectangles with a sharp knife.
- Fill and fold:
- Spoon a pile of pears onto each rectangle’s center, leaving space at the edges, then fold the borders just over the fruit to create a cozy rim.
- Add a golden touch:
- Brush pastry edges with beaten egg for gloss; don’t worry if it drips a little—it all adds to the charm.
- Bake them off:
- Arrange on the prepared baking sheet and bake for 20–25 minutes, until puffed and a deep golden hue with bubbling pears.
- Make the glaze:
- While the pastries bake, warm apricot jam with water on low heat until silky, straining if needed for a more polished finish.
- Glaze and cool:
- Once out of the oven and still warm, brush the fruit with glaze for shine, then let them cool slightly—impossible as it may be to wait.
 Save
Save There was one winter afternoon when I shared these pastries with my little niece, the two of us sitting at the counter, legs dangling, laughing over who could take the biggest bite without spilling filling onto our shirts. That simple moment turned these into ‘our’ treat—special even when the rest of the day was ordinary.
Choosing the Perfect Pears
If you’re at the market, pick pears that yield slightly to your thumb—they’ll bake up lush without turning mushy. Don’t worry about a bruise here or there since the heat will transform even flawed fruit into something glorious.
Getting That Flaky, Golden Finish
Keep the pastry cold and work quickly; little pockets of butter melt in the oven and make all the difference. I’ve even stuck my assembled pastries in the freezer for a few minutes if my kitchen’s feeling warm.
Little Extras That Make It Yours
Finishing touches go a long way: a sprinkle of toasted almonds or pistachios gives a satisfying crunch, or swap the apricot glaze for honey if the mood strikes. A scoop of vanilla ice cream next to a just-baked pastry is all it takes to turn an average day into an event.
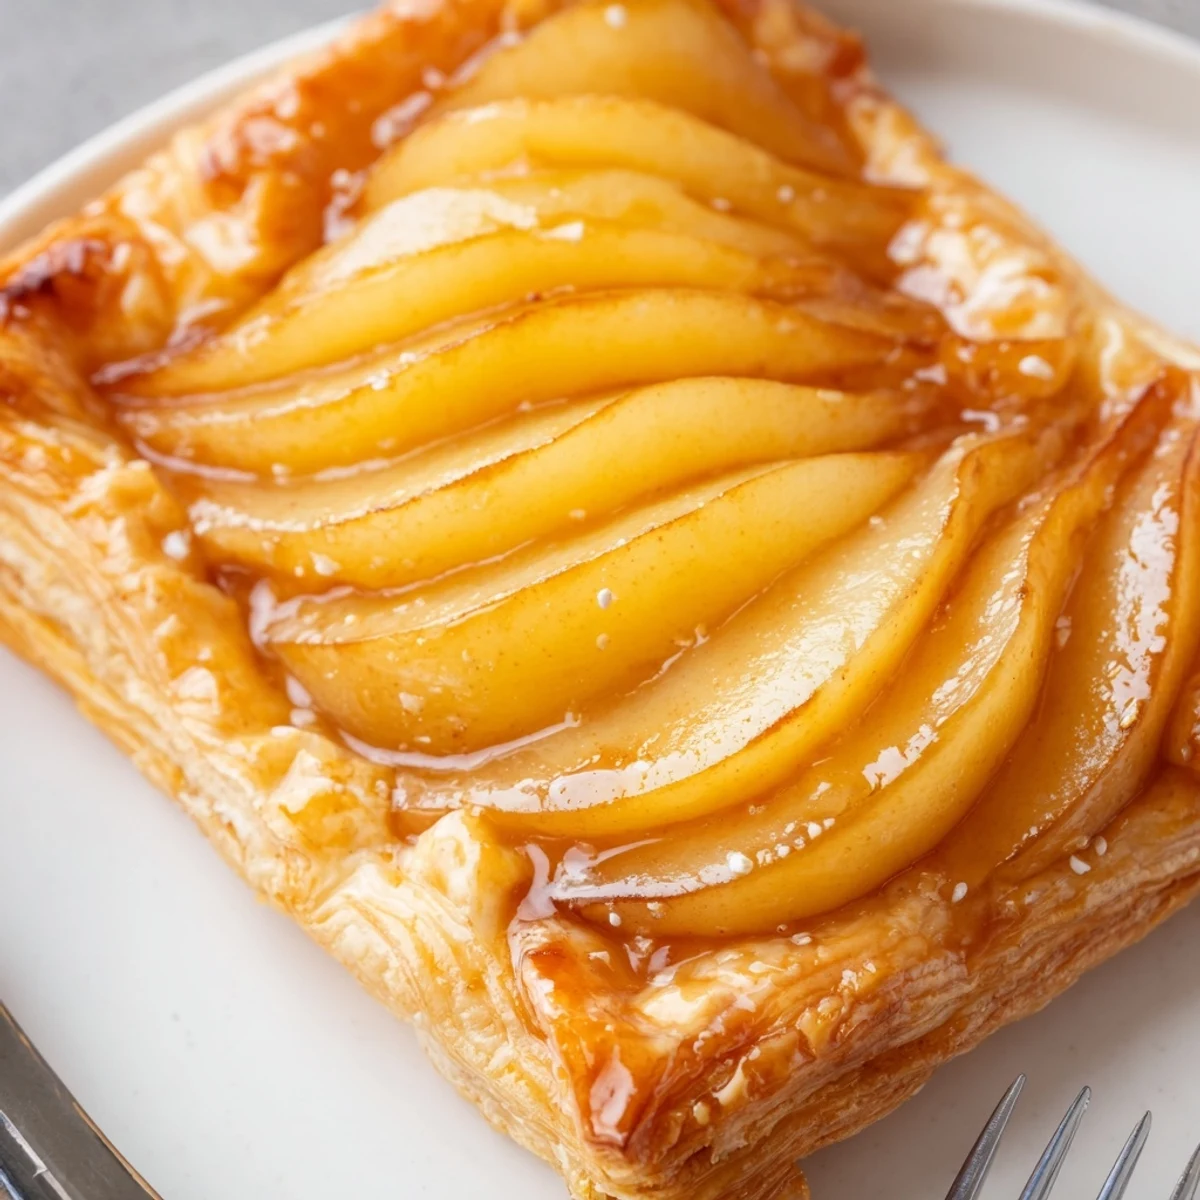
- Don’t skip the glaze—it makes the pears gleam as if from a bakery window.
- Chill your pastry before baking for maximum puff.
- If making them ahead, rewarm gently in the oven for the best texture.
 Save
Save Making these pear puff pastries has become a kind of tiny celebration at home. I hope the recipe brings a little golden comfort and joy to your table too.
Recipe FAQs
- → How do I prevent soggy pastry?
-
Dry pear slices slightly after tossing with sugar and lemon, avoid overcrowding the pastry, and leave a small border to keep juices contained. Preheating the oven so pastry begins puffing immediately also helps maintain flakiness.
- → Can I use different fruit?
-
Yes. Firm fruits like apples, quince or firm peaches work well; adjust slicing and cooking time so the fruit becomes tender without overbaking the pastry.
- → What’s the purpose of the egg wash?
-
Brushing the pastry rim with beaten egg promotes a glossy, golden finish and enhances browning and color contrast between the pastry and fruit.
- → How should I store leftovers?
-
Keep cooled pastries in an airtight container at room temperature for up to 24 hours, or refrigerate up to 48 hours. Recrisp in a 180°C (350°F) oven for 5–8 minutes before serving.
- → How do I make a vegan version?
-
Use plant-based puff pastry and replace the egg wash with unsweetened soy or oat milk brushed on the edges; warm jam glaze remains suitable if it’s vegan.
- → Any tips for the apricot glaze?
-
Gently warm apricot jam with a tablespoon of water to loosen it, strain if needed for smoothness, and brush on while pastries are still warm to create a shiny finish that seals in moisture.