Save
Save Whip room-temperature egg whites with cream of tartar until soft peaks. Add sugar gradually while beating to achieve stiff, glossy peaks, then fold in salt and vanilla. Paint stripes inside a piping bag, fill gently, and pipe 1–1.5-inch kisses. Bake at 200°F (90°C) for 1 hour 15 minutes, then cool inside the oven to dry fully. Keep bowls grease-free, work in low humidity, and store airtight for up to five days.
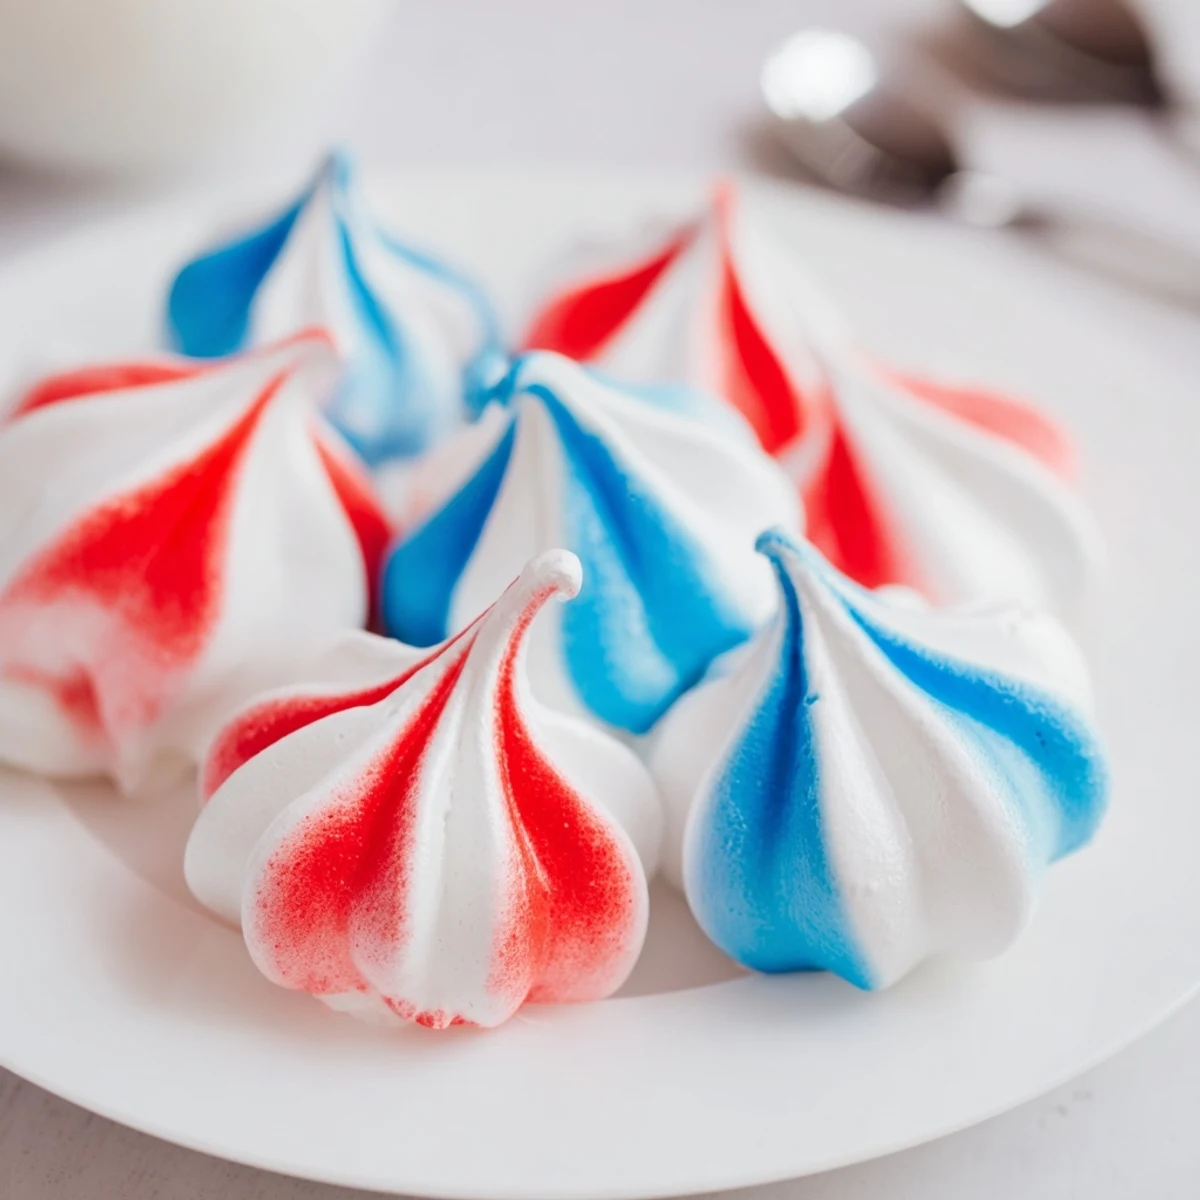
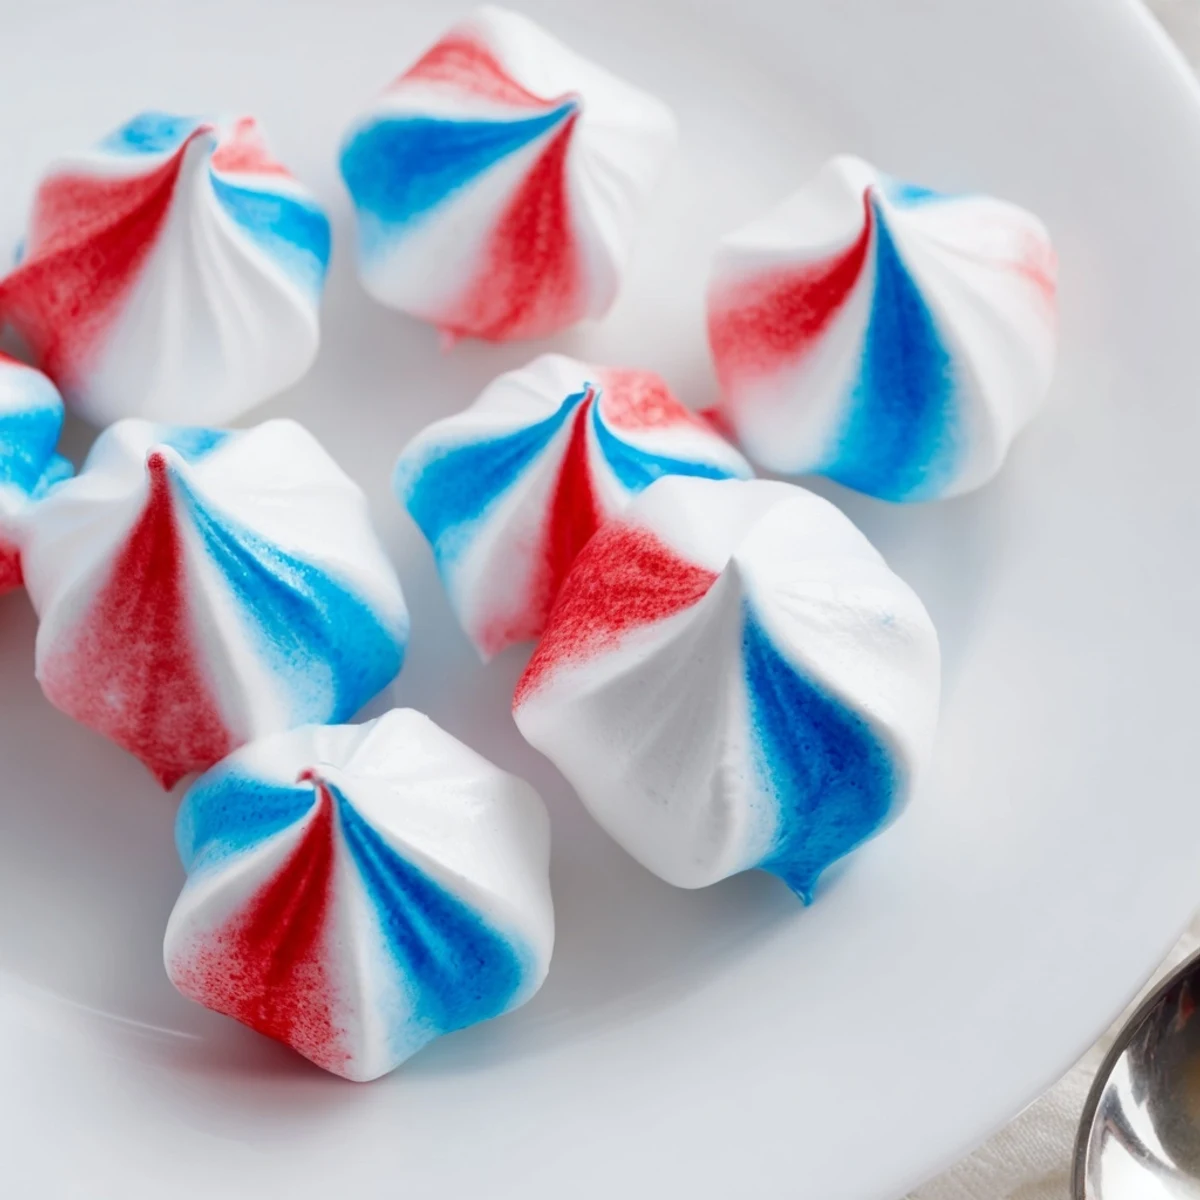
When the neighborhood plans its annual backyard fireworks, I start thinking about what I can bring that will outshine the store-bought cookies stacked at the kids table. Last summer, with the air shimmering and flags flapping, I decided to try whipping up meringue kisses in red, white, and blue. The way the colors marbled as I piped them was oddly satisfying, like painting tiny edible sculptures. More than a few ended up disappearing before the tray made it outdoors.
I’ll never forget the year my cousin and I challenged each other to see who could pipe the tallest meringue kiss without it collapsing. We ended up laughing over a few accidental 'meringue hats' but everyone agreed they tasted just as dreamy, no matter how lopsided. The pile of bites, streaked in patriotic colors, vanished faster than we could blame each other for the wonky ones.
Ingredients
- 4 large egg whites, at room temperature: Room-temperature egg whites whip higher and stay fluffier, which I learned after a flat batch or two.
- 1 cup (200 g) granulated sugar: Add this gradually—pouring too quickly can deflate the miracle peaks you’ve just made.
- 1/2 tsp cream of tartar: This keeps the meringue sturdy—don’t skip it, even if it seems like a tiny amount.
- 1/4 tsp salt: I love the subtle contrast it brings, highlighting the sweetness.
- 1/2 tsp vanilla extract: Gives just enough warmth behind the sugar and bright colors.
- Red gel food coloring: I reach for gel—it doesn’t water down the texture and the color pops beautifully.
- Blue gel food coloring: The blue stripes make these feel instantly celebratory; toothpick or brush gets a clean line.
Instructions
- Get Everything Ready:
- Preheat your oven to 200°F (90°C) and line two baking sheets with parchment, so the meringues lift off effortlessly later.
- Start the Meringue:
- In a perfectly dry, grease-free bowl, combine egg whites and cream of tartar, then start mixing until they billow into soft peaks—watch for the streaks left by the beaters.
- Add the Sugar:
- Begin adding sugar a tablespoon at a time, building up glossy, stiff peaks that stand tall when you lift the mixer.
- Add Flavor:
- Sprinkle in the salt and vanilla, giving the whole cloud one last gentle whirl—don’t overbeat now.
- Prep the Stripes:
- Slip a star or round tip into your piping bag, then use a food-safe brush to paint a red stripe, a blue stripe, and leave one section white inside the bag.
- Fill and Pipe:
- Carefully spoon in your meringue, keeping the stripes intact, and gently squeeze out 1 to 1.5 inch mounds onto the baking sheets, leaving space in between each little peak.
- Bake and Cool:
- Slide into the oven for 1 hour and 15 minutes until dry and light. Turn off the heat and leave them in with the door closed for another hour.
- Peel and Store:
- Once they’re cool, gently lift each kiss from the paper and pop into an airtight container—they’ll stay crisp for days.
 Save
Save There was a Fourth of July where my nephew announced he wanted 'clouds he could eat' on the dessert table. Watching him gingerly choose the brightest ones, pretending they were fireworks for his action figures, made me realize these little kisses bring their own brand of magic to the party.
Mastering That Signature Swirl
My first tries were more tie-dye than striped, and I realized less is more—one bold swipe with the gel brush before adding the meringue gives you the cleanest color separation. Too much swirling and the colors just turn muddy, like a preschool paint cup by the end of art class.
When Humidity Strikes
If the weather is sticky, I make sure the kitchen is as cool and dry as possible—humidity can turn your crisp meringues chewy before the party even starts. Leave the oven door closed the whole extra hour after baking; the patience pays off with perfect texture.
Storage and Snack Strategy
I found out meringue kisses fit perfectly in old cookie tins lined with parchment—you can add a tiny dish of uncooked rice to absorb stray moisture, just like storing crackers.
- Double check nobody at your table has an egg allergy—these kisses are all about the whites.
- If transporting, stack with parchment in between layers to avoid sticky disasters.
- Pinch a few aside—the best ones always vanish before guests even arrive.
 Save
Save However you serve them, these colorful clouds of sweetness are sure to win fans—just don’t expect leftovers. Hope you enjoy every crunchy bite as much as we do!
Recipe FAQs
- → How do I know when egg whites reach stiff peaks?
-
They should hold a firm point on the whisk without collapsing and appear glossy. Lift the whisk—peaks should stand straight without drooping.
- → Why is it important that bowls and utensils are grease-free?
-
Any trace of fat prevents egg whites from aerating properly, resulting in flat or weepy meringue. Wash and dry utensils thoroughly before starting.
- → Can I use liquid food coloring instead of gel?
-
Gel gives more vivid stripes with less moisture; liquid works but may thin the meringue and affect drying. Use sparingly if using liquid color.
- → Why bake at a low temperature for so long?
-
Low, slow drying removes moisture without browning, producing crisp, airy shells. High heat risks color changes and hollow or chewy interiors.
- → How do I prevent meringues from becoming sticky in storage?
-
Cool completely in the turned-off oven, then store in an airtight container at room temperature with a desiccant packet or silica gel if available to keep humidity low.
- → Any tips for clean, even stripes when piping?
-
Use a small, food-safe brush to paint stripes inside a clean piping bag, chill the bag briefly if needed, then add meringue gently to avoid disturbing the paint lines.