 Save
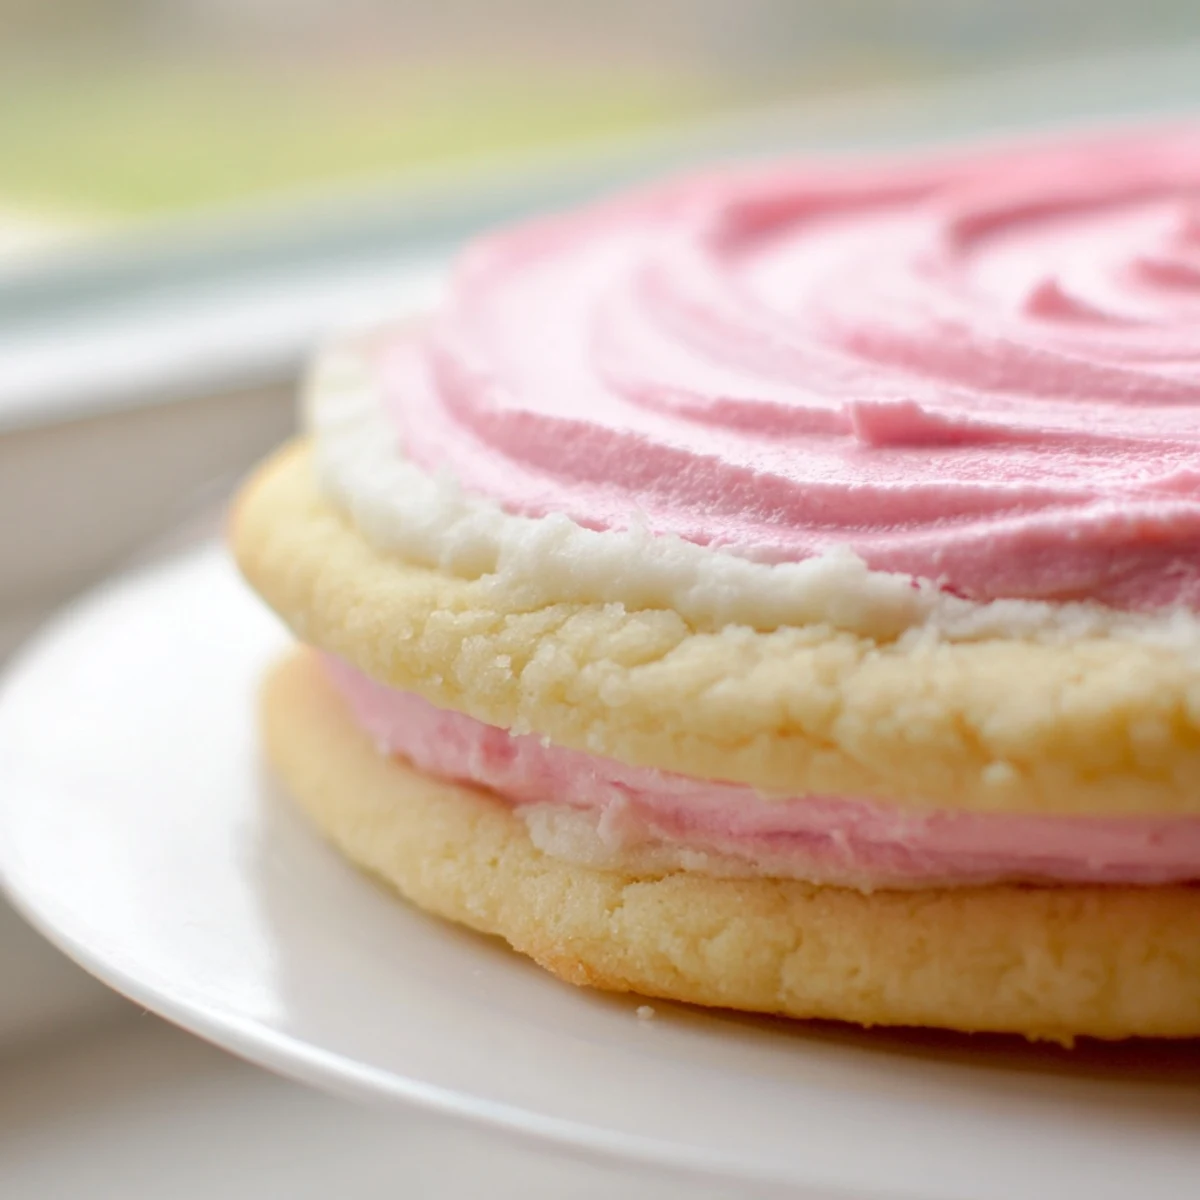
Save These delightful sandwich cookies feature tender, melt-in-your-mouth sugar cookies paired with smooth pastel buttercream filling. The dough requires chilling for proper handling, then bakes into golden rounds perfect for sandwiching together.
The buttercream gets its soft pastel shades from gel food coloring—think pretty pinks, mellow yellows, soft greens, or lavender blues. You can customize the colors to match any occasion or season.
The assembly process lets you get creative with piping or spreading, and rolling the edges in sprinkles adds extra festive flair. These treats store beautifully for days and bring a touch of whimsy to any gathering.
The way sunlight hits these cookies through the kitchen window in April always makes me pause. I first made them for my daughter's spring birthday, rushing between cookie batches while she sat on the counter swinging her legs, waiting to lick spoons.
My grandmother never measured anything for sugar cookies, but she taught me to trust my hands when the dough feels right. These sandwiches became my go-to whenever I need to bring something cheerful to a gathering, and people always ask for the recipe.
Ingredients
- 2 ½ cups all-purpose flour: I learned to spoon the flour into the measuring cup rather than scooping directly, which keeps these cookies tender instead of tough
- ½ teaspoon baking powder: Just enough to give them a slight lift without losing that classic sugar cookie snap
- ¼ teaspoon salt: Don't skip this even though it's a sweet treat, it balances everything beautifully
- ¾ cup unsalted butter, room temperature: I leave mine out overnight so it's perfectly soft, which makes creaming with the sugar effortless
- 1 cup granulated sugar: Cream this thoroughly with the butter until it looks pale and fluffy, that's the secret to the perfect texture
- 1 large egg: Bring this to room temperature too so it incorporates smoothly instead of curdling the mixture
- 1 teaspoon pure vanilla extract: I use real vanilla here, never imitation, because the flavor really shines in such simple cookies
- ½ cup unsalted butter for frosting: Again, room temperature is non-negotiable for silky smooth buttercream
- 2 cups powdered sugar, sifted: Sifting takes two minutes but prevents those frustrating lumps in your frosting
- 1 ½ tablespoons milk: Add this gradually, you might need slightly less depending on humidity
- 1 teaspoon pure vanilla extract: Pure vanilla makes the buttercream taste professional
- Pinch of salt: A tiny pinch cuts through all that sugar and makes the flavors pop
- Pastel gel food coloring: Use gel colors instead of liquid, they won't thin out your frosting and the colors are so much more vibrant
Instructions
- Whisk the dry ingredients together:
- In a medium bowl, combine the flour, baking powder and salt until well blended. I do this first so I'm not scrambling with measuring cups while the mixer is running.
- Cream the butter and sugar:
- Beat the butter and granulated sugar on medium speed for 2 to 3 minutes until the mixture is noticeably lighter and fluffy. Don't rush this step, I've learned it's what gives the cookies their delicate crumb.
- Add the egg and vanilla:
- Mix in the egg and vanilla extract until everything is thoroughly combined. Scrape down the sides of the bowl to catch any pockets of flour or butter that escaped the mixer.
- Incorporate the dry ingredients:
- Gradually add the flour mixture on low speed, mixing just until you no longer see streaks of white flour. Over-mixing at this stage will make your cookies tough instead of tender.
- Chill the dough:
- Divide the dough in half, press each portion into a flat disc and wrap tightly in plastic. Refrigerate for at least 30 minutes, though I've left it overnight when I'm prepping ahead.
- Prepare your baking space:
- Preheat the oven to 350°F and line two baking sheets with parchment paper. I reuse my parchment paper for both batches, just let the sheets cool between rounds.
- Roll and cut the cookies:
- Roll one dough disc on a floured surface to ¼ inch thickness. Cut rounds with a 2 inch cutter and arrange them 1 inch apart on the prepared sheets.
- Bake to perfection:
- Bake for 8 to 10 minutes until you just see the slightest golden tinge at the edges. They'll look underdone in the center but that's exactly how they should be.
- Cool completely:
- Let the cookies rest on the baking sheets for 2 minutes before transferring to cooling racks. They need to be completely cool before filling or the buttercream will melt right off.
- Make the buttercream:
- Beat the butter until creamy, then gradually add the powdered sugar, milk, vanilla and salt. Whip until the frosting is smooth and holds its shape when you lift the beaters.
- Create pastel magic:
- Divide the buttercream into small bowls and tint each with a different pastel gel color. A tiny bit of gel goes a long way, so start with less than you think you need.
- Assemble the sandwiches:
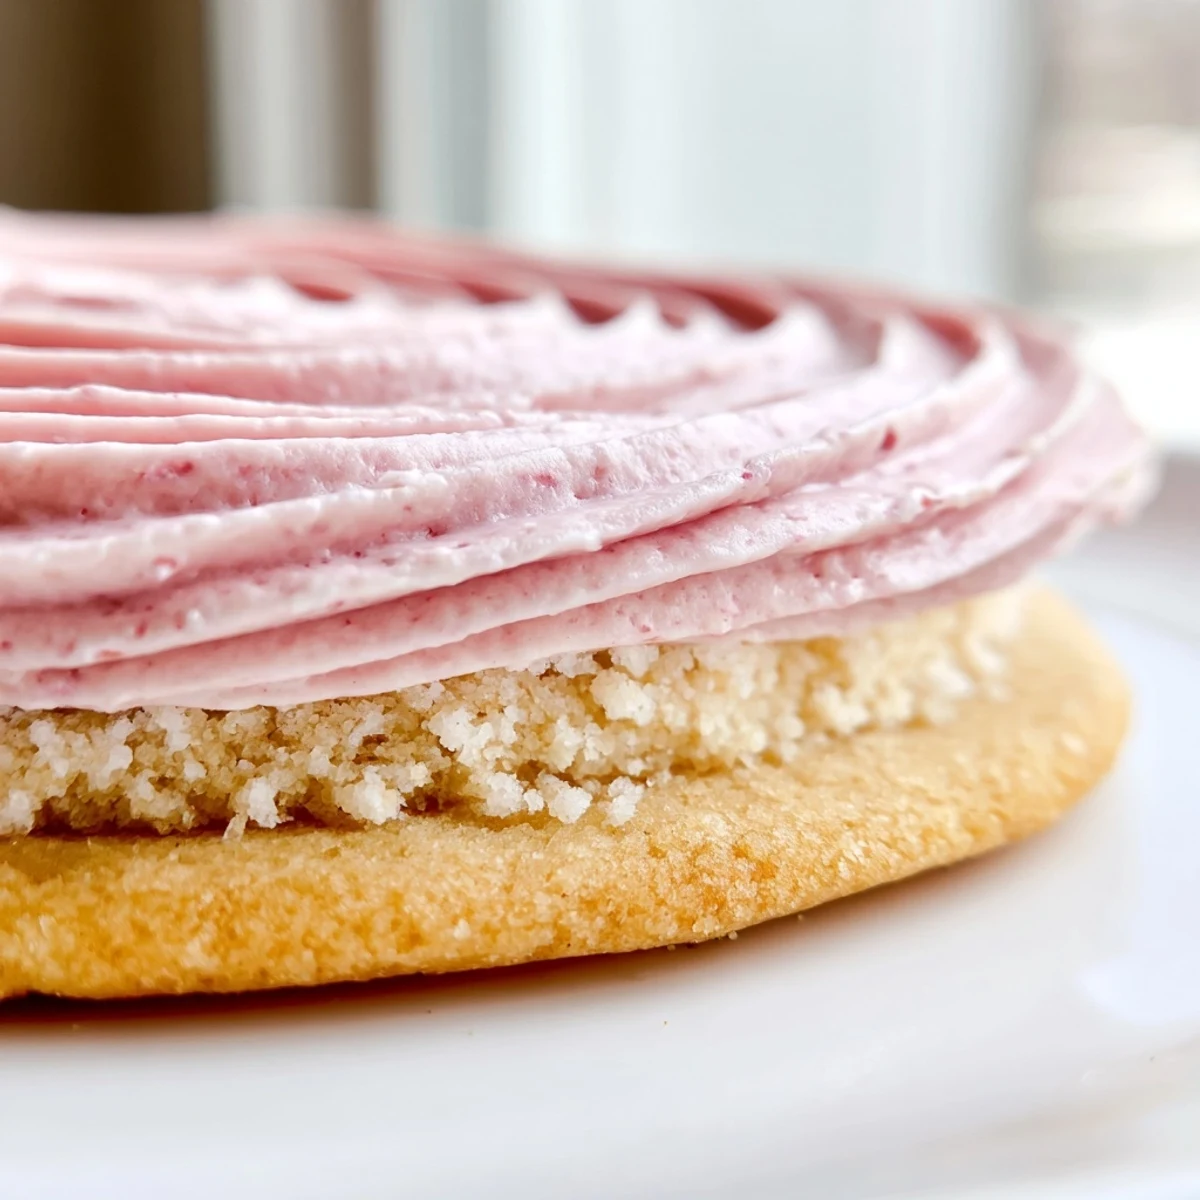
- Spread or pipe buttercream onto the flat side of half the cookies and top with remaining cookies. I use an offset spatula for a rustic swirl or piping bags for a more polished look.
- Let them set:
- Allow the filled cookies to sit for 20 minutes so the buttercream firms up slightly. This makes them easier to handle and serve without making a mess.
 Save
Save Last spring my neighbor brought over her grandchildren and they sat at my kitchen table eating these, leaving pastel fingerprints everywhere. I found pink smudges on the refrigerator days later and smiled every time I saw them.
Making These Ahead
The dough freezes beautifully for up to three months, so I often double the recipe and keep half in the freezer. Just thaw it overnight in the refrigerator before rolling and baking.
Customizing the Colors
I've made these in every seasonal palette imaginable, from muted autumn tones to bright summer hues. The key is mixing your colors gradually, the gel concentrates are surprisingly potent.
Serving and Storing
These cookies taste best at room temperature when the buttercream has softened slightly. They stack well for transport but I always put parchment paper between layers.
- Roll the edges of assembled sandwiches in sprinkles before the frosting sets for extra flair
- Store in an airtight container at room temperature for up to 3 days
- Try almond or lemon extract instead of vanilla for a completely different flavor profile
 Save
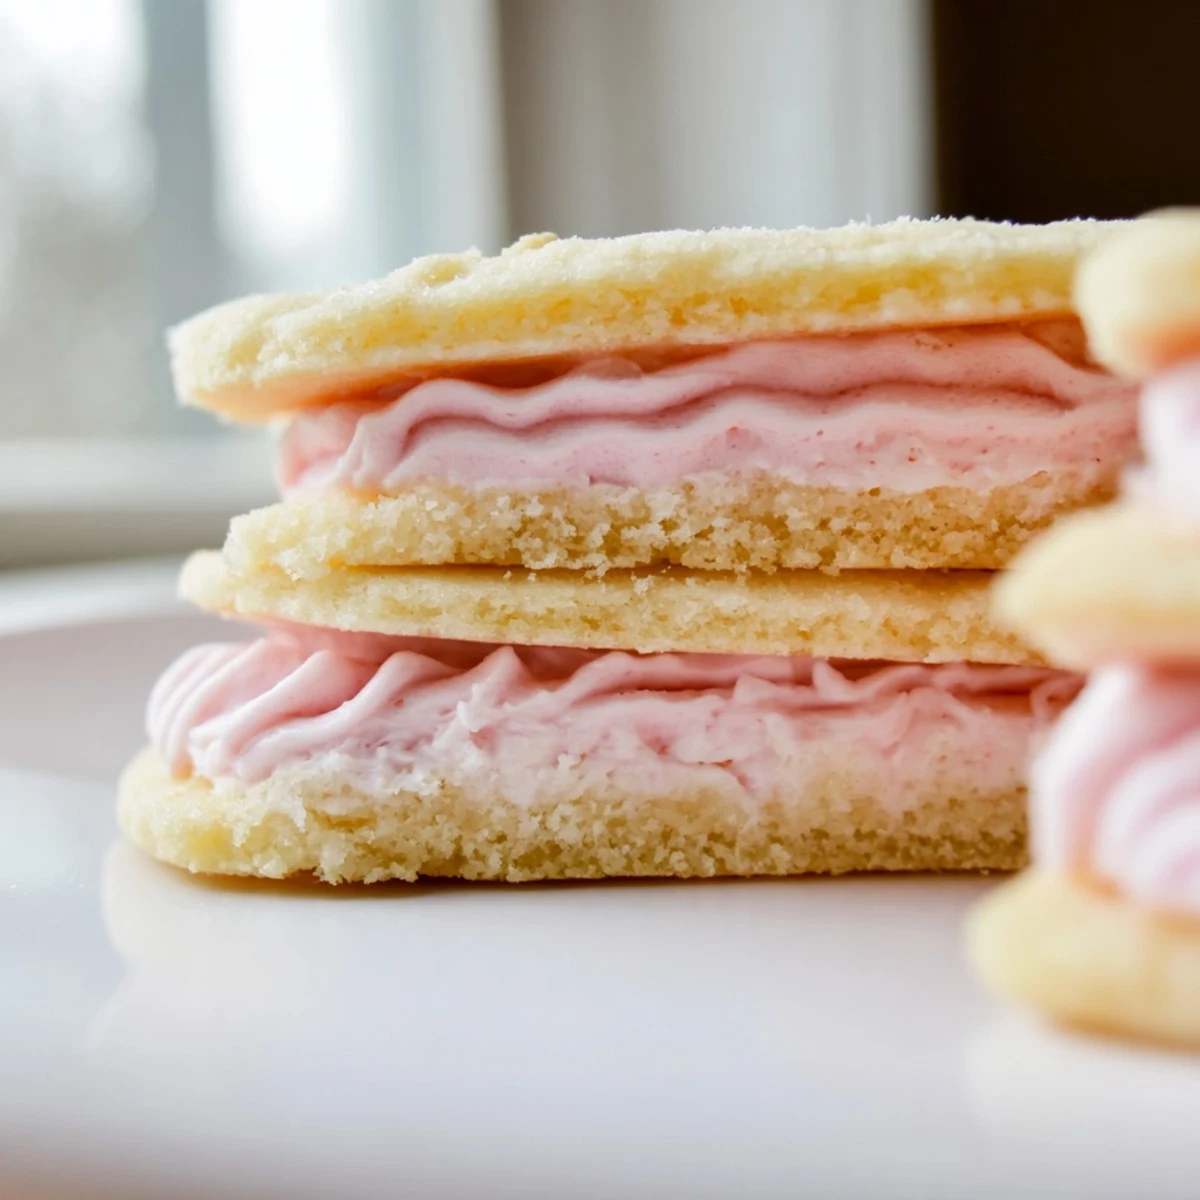
Save There's something so satisfying about biting through that crisp cookie into the pillowy soft buttercream. They never fail to make people smile.
Recipe FAQs
- → How long should I chill the cookie dough?
-
Refrigerate the dough for at least 30 minutes before rolling. This step firms the butter, preventing the cookies from spreading too much while baking and making the dough easier to handle.
- → Can I make the buttercream ahead of time?
-
Yes, prepare the buttercream up to 2 days in advance and store it in an airtight container at room temperature. Give it a quick whip before using to restore fluffiness.
- → What's the best way to achieve smooth buttercream?
-
Beat the softened butter thoroughly until creamy before adding powdered sugar gradually. Sifting the powdered sugar first prevents lumps, and beating for several minutes incorporates air for light texture.
- → How do I prevent the cookies from overbaking?
-
Watch closely after 8 minutes—the cookies are done when edges just start turning golden. They'll continue firming slightly on the baking sheet, so removing them while centers look slightly underbaked yields tender results.
- → Can I freeze these sandwich cookies?
-
Freeze unfilled baked cookies for up to 3 months in freezer bags. Thaw at room temperature before filling. Assembled sandwiches freeze well too—wrap individually in plastic wrap, then place in a freezer container.
- → What other fillings work with these cookies?
-
Beyond vanilla buttercream, try filling with lemon curd, chocolate ganache, or cream cheese frosting. Fruit preserves like raspberry or strawberry also pair beautifully with the subtle sweetness of the sugar cookies.