 Save
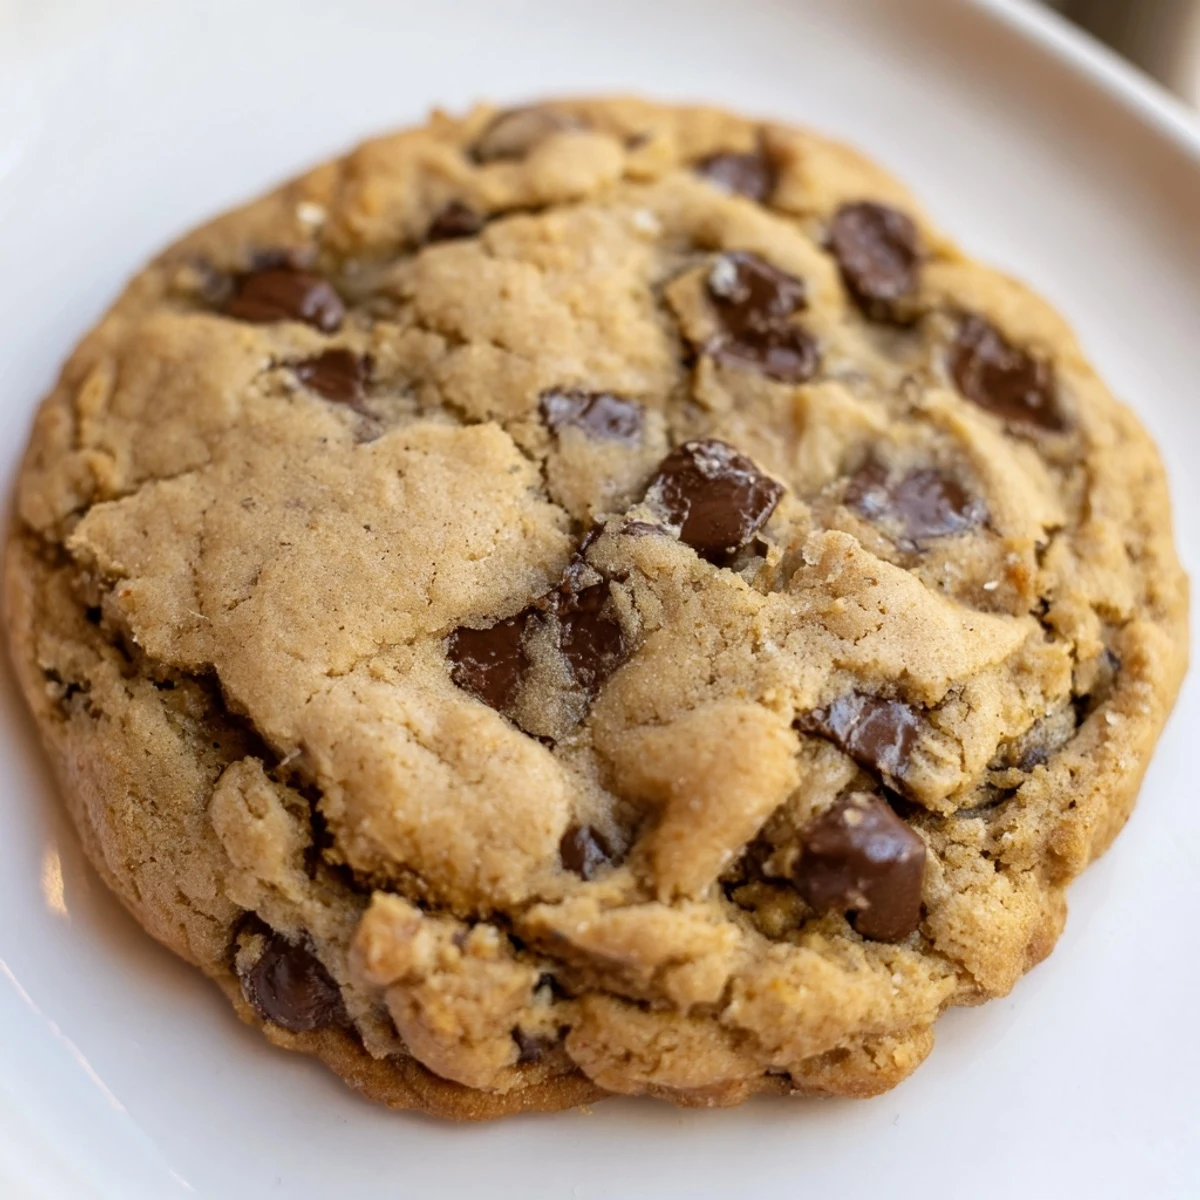
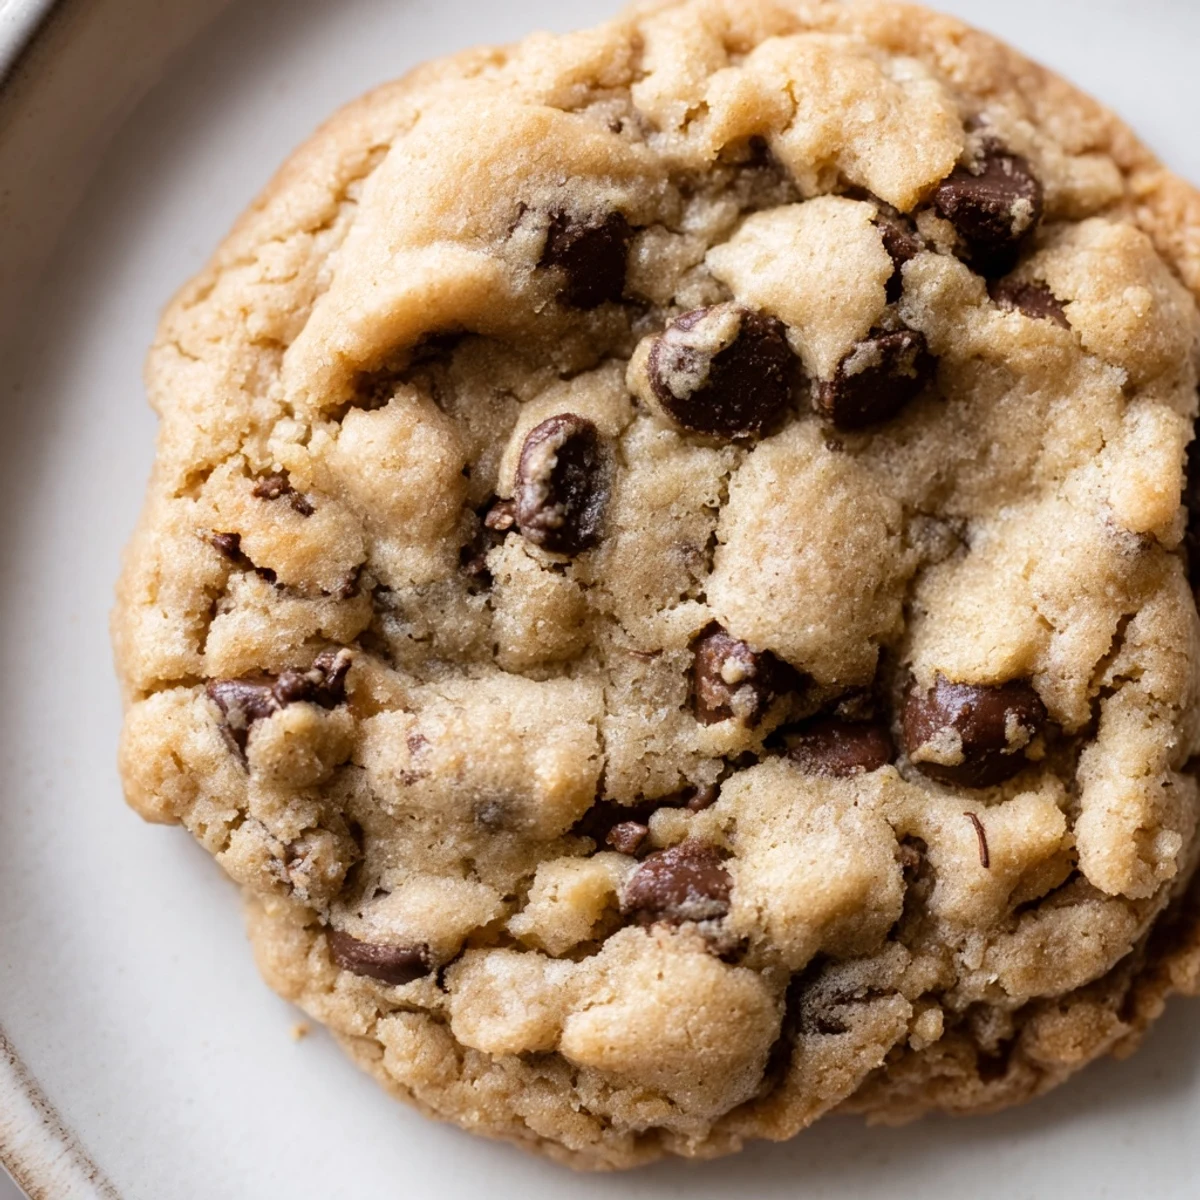
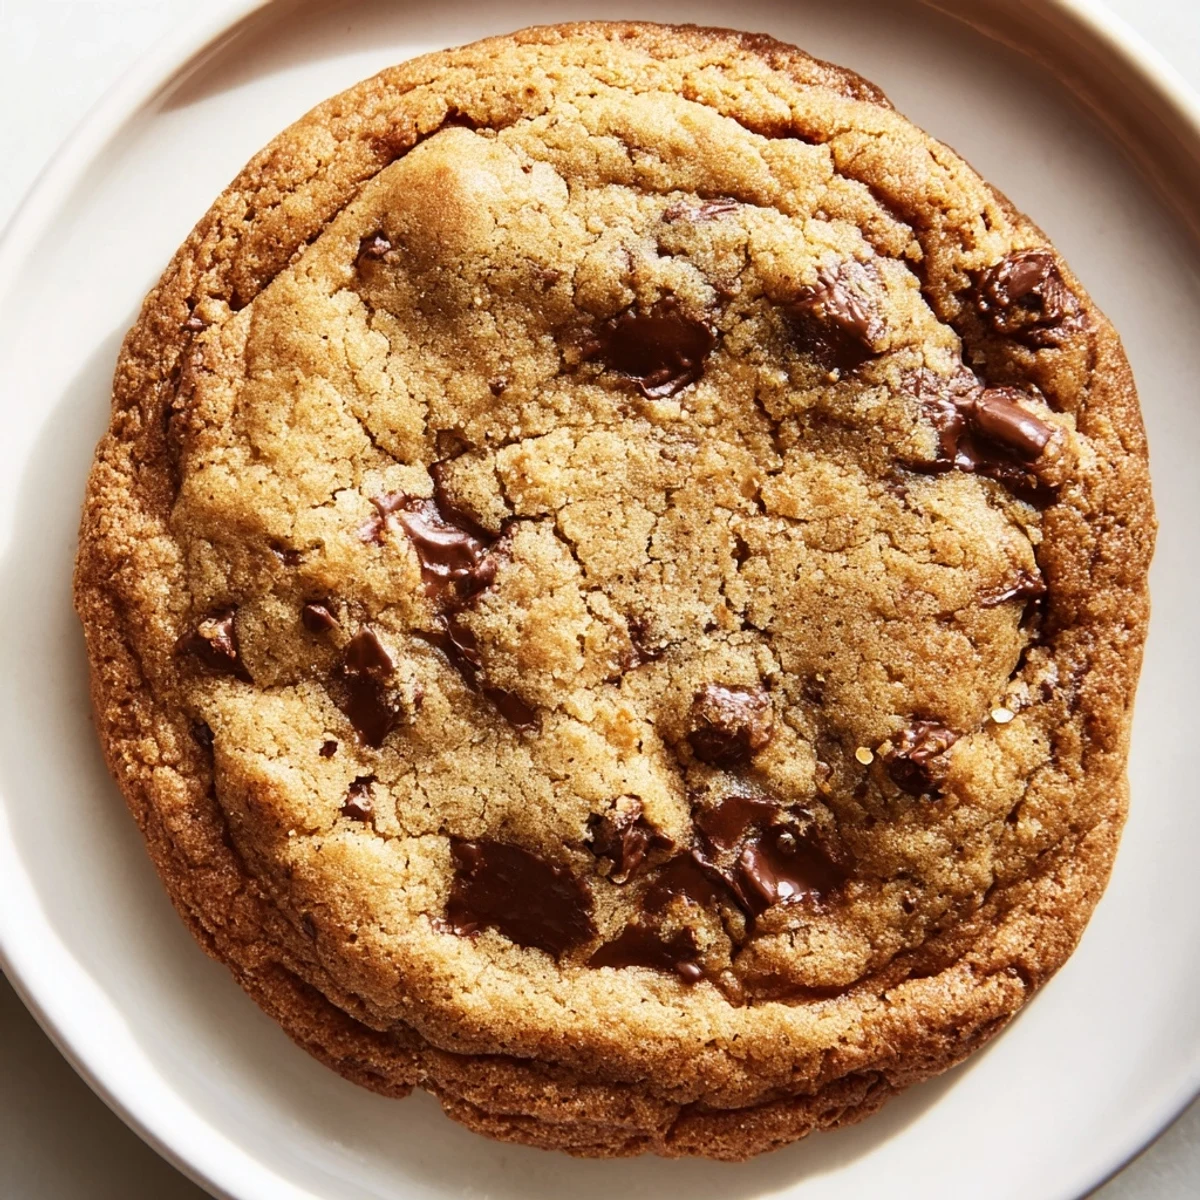
Save These soft and chewy chocolate chip cookies deliver all the classic flavor you love without any nuts. Made with simple pantry staples including butter, brown sugar, and semi-sweet chocolate chips, they're perfect for school lunches, parties, or everyday snacking. The dough comes together quickly with just 15 minutes of prep time, and each batch yields 24 perfectly portioned cookies.
For the best texture, let the dough chill for 30 minutes before baking to enhance chewiness. Always verify your chocolate chips are certified nut-free if preparing for someone with severe allergies. The edges bake up golden while centers stay slightly soft, creating that irresistible texture combination.
Last winter my neighbor's daughter couldn't join our annual cookie swap because of her nut allergy. Watching her face light up when I handed her a plate of these safe-to-eat cookies made me realize everyone deserves that perfect chocolate chip cookie moment, no exceptions.
My sister-in-law actually cried when she took her first bite, explaining she hadn't had a proper chocolate chip cookie at a party in over ten years. Now I keep a stash of these in my freezer specifically for whenever she visits.
Ingredients
- All-purpose flour: The backbone that gives structure while keeping that tender crumb we all want in a cookie
- Baking soda: Essential for that perfect spread and slight rise in the oven
- Salt: Don't skip this - it intensifies the chocolate flavor in ways you wouldn't believe
- Unsalted butter: Softened to room temperature so it creams properly into the sugars for that light texture
- Granulated sugar: Creates crisp edges while the brown sugar handles the chewy centers
- Light brown sugar: The secret ingredient for moisture and that deep caramel undertone
- Eggs: Two large eggs bind everything together and add richness
- Pure vanilla extract: Use the good stuff here - it makes a noticeable difference in the final taste
- Nut-free semi-sweet chocolate chips: Look for certified nut-free brands to keep these completely safe for allergy sufferers
Instructions
- Get your oven ready:
- Preheat to 350°F and line those baking sheets with parchment paper - trust me, cleanup will thank you later
- Mix the dry team:
- Whisk flour, baking soda, and salt in a medium bowl until everything's evenly distributed
- Cream the butter and sugars:
- Beat that softened butter with both sugars for 2-3 minutes until the mixture turns pale and fluffy - this step is worth every second
- Add the wet ingredients:
- Drop in those eggs one at a time, then pour in the vanilla, mixing between each addition
- Combine everything:
- Slowly incorporate the dry ingredients just until you no longer see streaks of flour - overmixing makes tough cookies
- Fold in the chocolate:
- Gently stir in those chocolate chips by hand until they're evenly distributed throughout the dough
- Scoop and space:
- Drop rounded tablespoons onto your prepared sheets, giving each cookie about two inches of room to spread
- Bake to perfection:
- Pop them in for 9-11 minutes until you see golden edges but the centers still look slightly underbaked
- The patience step:
- Let them rest on the hot baking sheets for five minutes before moving them to a cooling rack
 Save
Save These became my go-to contribution for school events and potlucks after another mom told me her son had never been able to eat homemade cookies at a friend's house before. Watching kids with allergies experience that same cookie joy everyone else takes for granted? That's the real reward.
Making Them Ahead
The dough actually freezes beautifully - I scoop it onto a parchment-lined tray, freeze until solid, then transfer the balls to a freezer bag. Fresh baked cookies in twelve minutes flat whenever the craving hits.
Getting The Perfect Texture
That slightly underdone look when you pull them from the oven isn't a mistake - the cookies continue cooking on the hot baking sheet during those crucial five minutes of resting time. This technique gives you crispy edges with irresistibly soft centers.
Customization Ideas
While these are perfect as-is, sometimes I swap in nut-free white chocolate chips or fold in dried cranberries for a holiday twist. Just keep the total add-in amount around two cups to maintain the proper dough consistency.
- Try rolling the dough balls in sprinkles for birthday parties
- Press a few extra chocolate chips into the tops before baking for that bakery look
- Store in an airtight container with a slice of bread to keep them soft for days
 Save
Save There's something magical about watching someone take that first bite and realize they don't have to ask about ingredients this time. These cookies aren't just nut-free - they're simply perfect.
Recipe FAQs
- → Why chill the dough before baking?
-
Chilling the dough for 30 minutes helps prevent excessive spreading in the oven and enhances the chewy texture. Cold dough also creates thicker cookies with crispier edges and softer centers.
- → Can I use salted butter instead of unsalted?
-
Yes, you can substitute salted butter by reducing the added salt in the dry ingredients to 1/4 teaspoon. This adjustment prevents the final cookies from becoming too salty while maintaining proper flavor balance.
- → How do I know when the cookies are done?
-
The cookies are ready when the edges are golden brown but the centers still look slightly soft. They'll continue cooking on the hot baking sheet during the 5-minute cooling period, so removing them while slightly underbaked ensures perfect chewiness.
- → Can I freeze the dough or baked cookies?
-
Both freeze exceptionally well. Scoop dough onto a baking sheet, freeze until solid, then transfer to a freezer bag for up to 3 months. Bake frozen dough balls adding 1-2 minutes to baking time. Baked cookies freeze well for up to 2 months when stored in airtight containers.
- → What chocolate chips work best for nut-free baking?
-
Look for brands that explicitly certify their facilities as nut-free, such as Enjoy Life or Vermont Nut Free. Many mainstream chocolate chips are processed on shared equipment, so always read labels carefully when baking for those with severe allergies.
- → Can I make these cookies dairy-free?
-
Yes, substitute the butter with dairy-free margarine or coconut oil in a 1:1 ratio. Use plant-based chocolate chips certified as both dairy-free and nut-free. The texture may vary slightly but remains delicious.