 Save
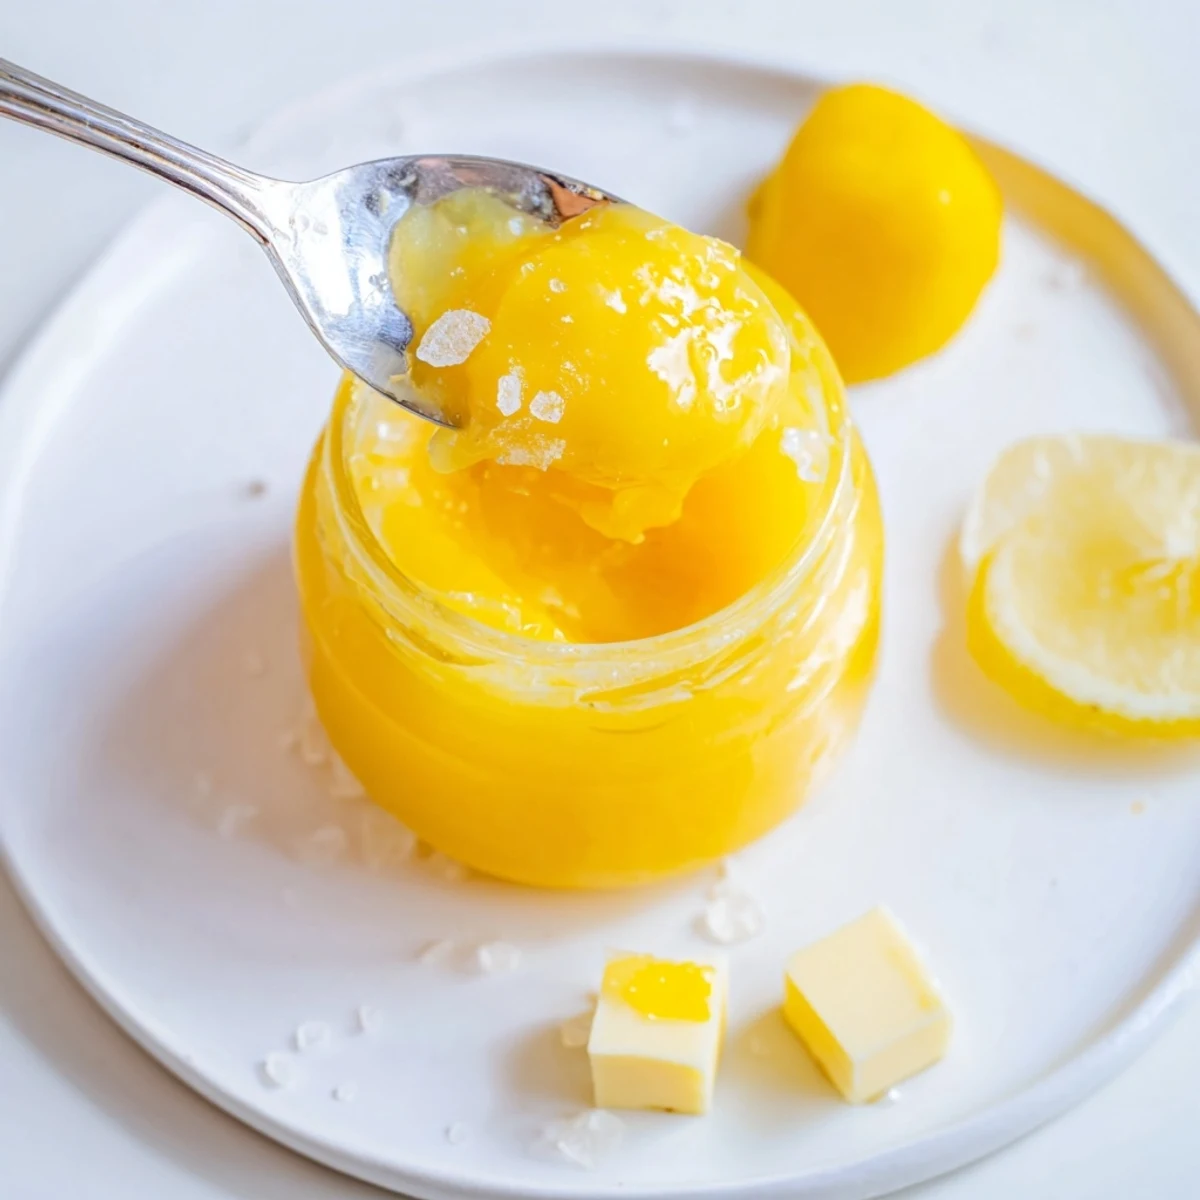
Save Ready in about 20 minutes, this silky lemon curd yields roughly 2 cups. Whisk eggs and sugar, stir in lemon zest and juice, then cook gently over simmering water until it thickens and coats the back of a spoon (8–10 minutes). Remove from heat, whisk in butter until smooth, strain, cool and jar. Keeps refrigerated up to 2 weeks; use for scones, cakes, tarts or yogurt. For a dairy-free version, substitute plant-based butter.
The first time I made lemon curd, the perfume of fresh zest filled my kitchen in seconds—a vibrant, zippy scent that clung to my sleeves long after I finished. It was one of those gray afternoons when only something tangy and sun-bright would do. Each swirl of the whisk became oddly meditative, and before I knew it, I had a glossy bowlful of golden curd. There's just something about transforming simple everyday eggs, sugar, and lemons into smooth, creamy sunshine.
Last spring, I made double batches of lemon curd for an impromptu tea with friends, and we ended up nearly finishing it straight from the jar with spoons. Someone joked that it was better than frosting, which made me realize how quickly a simple homemade touch can turn an ordinary get-together into something memorable. The laughter that followed the first unexpectedly tart spoonful set the playful tone for the whole afternoon.
Ingredients
- 4 large eggs: Fresh, room-temperature eggs help lend body and silkiness while avoiding a sultry scramble—crack carefully.
- 4 tablespoons unsalted butter, cubed: Butter added at the end smooths the curd and gives it a luscious finish; cold, cubed works best for blending in gradually.
- 3 large lemons (zest and juice; about 1 tablespoon zest, 120 ml juice): Zest brings fragrant oils, and freshly squeezed juice delivers that classic tartness; avoid bottled juice for the real zing.
- 200 g (1 cup) granulated sugar: White sugar sweetens and balances the acidity without masking the lemon’s brightness.
Instructions
- Set up your double boiler:
- Find a heatproof bowl that sits snug over a saucepan with gently simmering water—the goal is gentle, steady heat.
- Blend eggs and sugar:
- Whisk the eggs and sugar together briskly until the mix is pale, thick, and ribbons float from the whisk—it should feel a little luxurious as it thickens.
- Add in citrus:
- Scrape in the zest and squeeze the lemons, letting juice and fragrant oils join the bowl; stir to combine and appreciate the wave of bright scent.
- Slowly cook and stir:
- Place the bowl over the water and whisk constantly—don’t wander off—until it thickens and leaves a clear trail across the back of a spoon, about 8-10 minutes.
- Finish with butter:
- Remove the bowl from the heat and add butter in cubes, whisking until glossy, creamy, and fully melted—watch as it all pulls together.
- Strain and cool:
- Pour the curd through a fine-mesh sieve into a clean bowl to catch any sneaky egg bits or coarse zest, and let it cool before spooning into jars.
 Save
Save One snowy Sunday I caught my dad sneaking spoonfuls of lemon curd from the fridge in the early morning—he just grinned, shrugged, and claimed it was his new energy drink. That’s when I realized that homemade treats can become tiny, joyful rituals for everyone in the house.
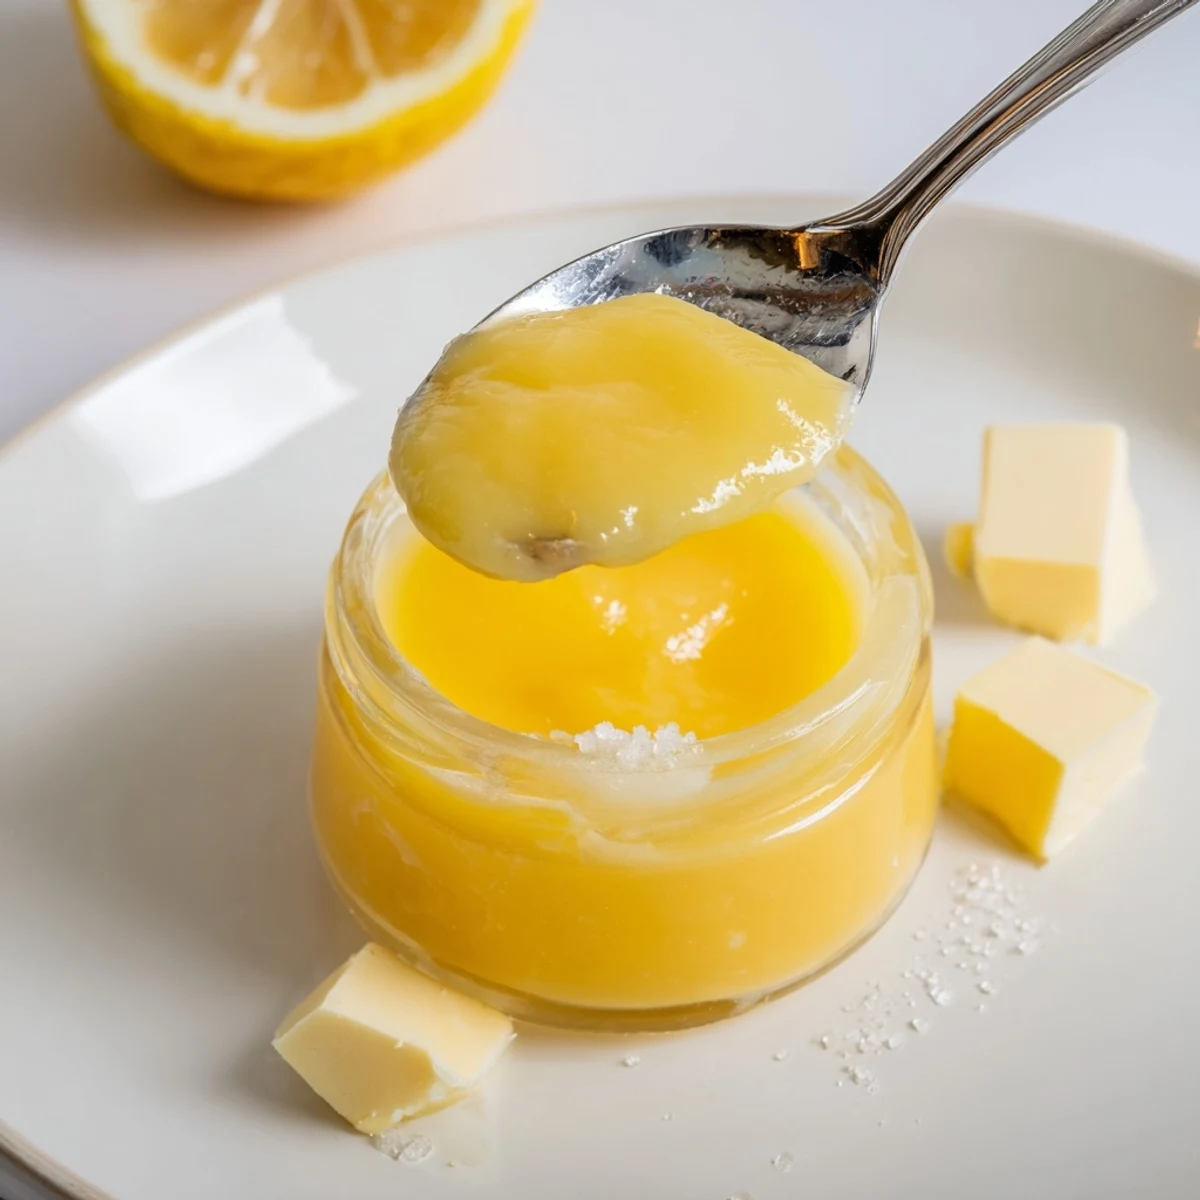
Get the Smoothest Curd Every Time
I used to rush the thickening stage, only to end up with runny or overcooked batches that wouldn’t quite set. Over time, I learned that patience—whisking gently, never letting the bowl get too hot—is what coaxes out that dreamy, velvety result. If in doubt, give it an extra minute to thicken; it’ll firm up more as it cools, too.
Creative Ways to Use Your Lemon Curd
There’s so much more to do with lemon curd than simply spreading it on scones. Swirl generous dollops through Greek yogurt, layer it between sponges for a quick trifle, or add a spoon to top waffles or pancakes. Sometimes I even tuck some into thumbprint cookies for a cheery surprise.
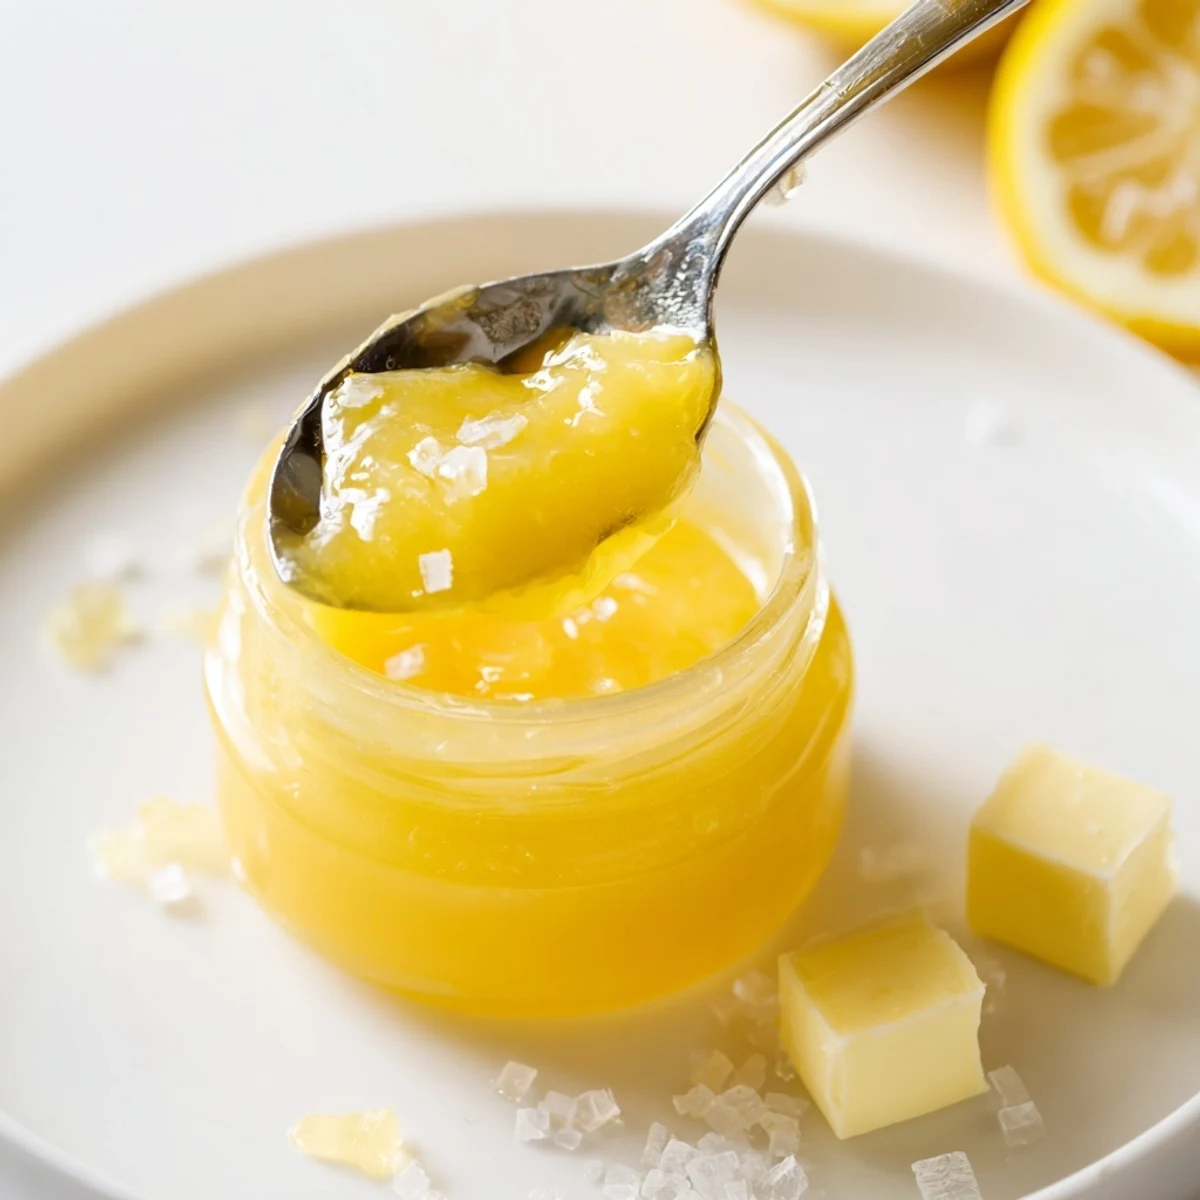
Little Jar, Big Possibilities
One jar of lemon curd seems to disappear faster than you’d imagine once you start experimenting in the kitchen, so make extra if you can.
- If you’re gifting the curd, tie a bit of ribbon around the jar for a bright touch.
- For flavor variations, try swapping in lime, orange, or even a mix for a twist.
- Always label the jars with the date; homemade curd lasts about two weeks in the fridge.
 Save
Save Homemade lemon curd somehow makes even an ordinary breakfast special. I hope this recipe brings a little more bright flavor and fun to your kitchen, one spoonful at a time.
Recipe FAQs
- → How do I know when the curd is done?
-
It’s ready when the mixture thickens and coats the back of a spoon—run your finger through the coating and it should hold a clean line. This usually takes about 8–10 minutes over a gentle simmer.
- → Can I reduce the sugar for a tarter finish?
-
Yes, you can cut sugar slightly for more tang, but reducing too much affects texture and stability. Trim up to 15–20% and test thickness; longer gentle cooking may be needed to achieve the same set.
- → What’s the best method to avoid curdling?
-
Cook over a double boiler and whisk continuously to distribute heat evenly. Keep the water at a gentle simmer and remove promptly when it thickens; brisk whisking when adding butter also helps emulsify.
- → How should I store and how long does it keep?
-
Transfer cooled curd to sterilized jars, seal and refrigerate. Properly chilled, it will keep about two weeks. For longer storage, freeze in airtight containers for up to 3 months.
- → Can I make this without dairy?
-
Yes—use a firm plant-based butter in place of dairy butter. The texture will be slightly different but still rich; strain as usual for a smooth finish.
- → Why strain the curd through a fine-mesh sieve?
-
Straining removes any bits of cooked egg or coarse zest, producing a velvety smooth curd that spreads and fills evenly in cakes, tarts and pastries.