 Save
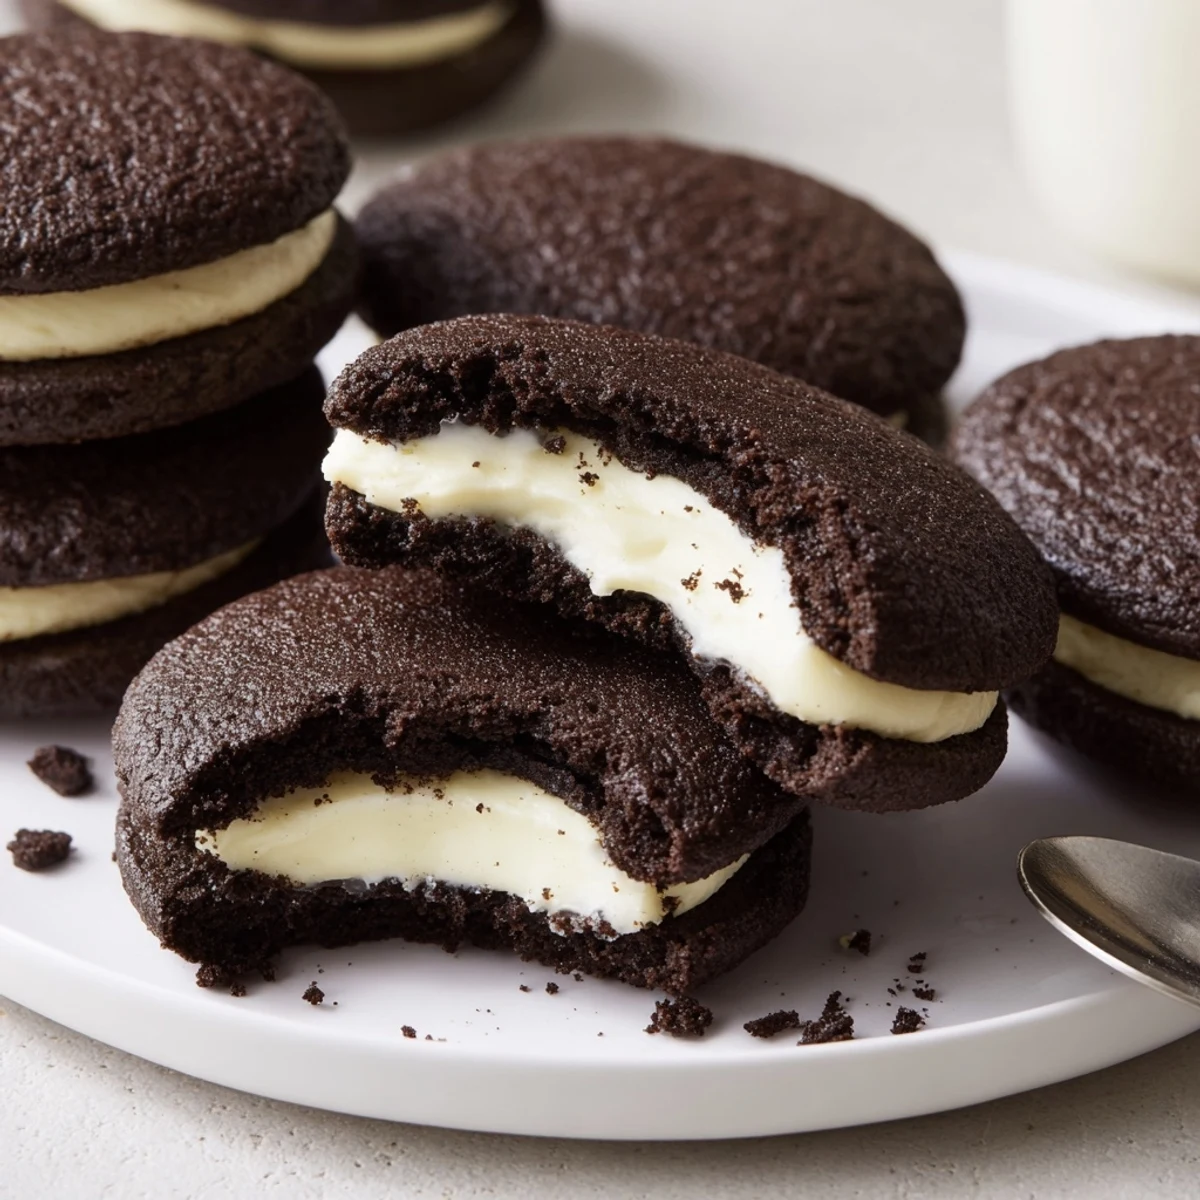
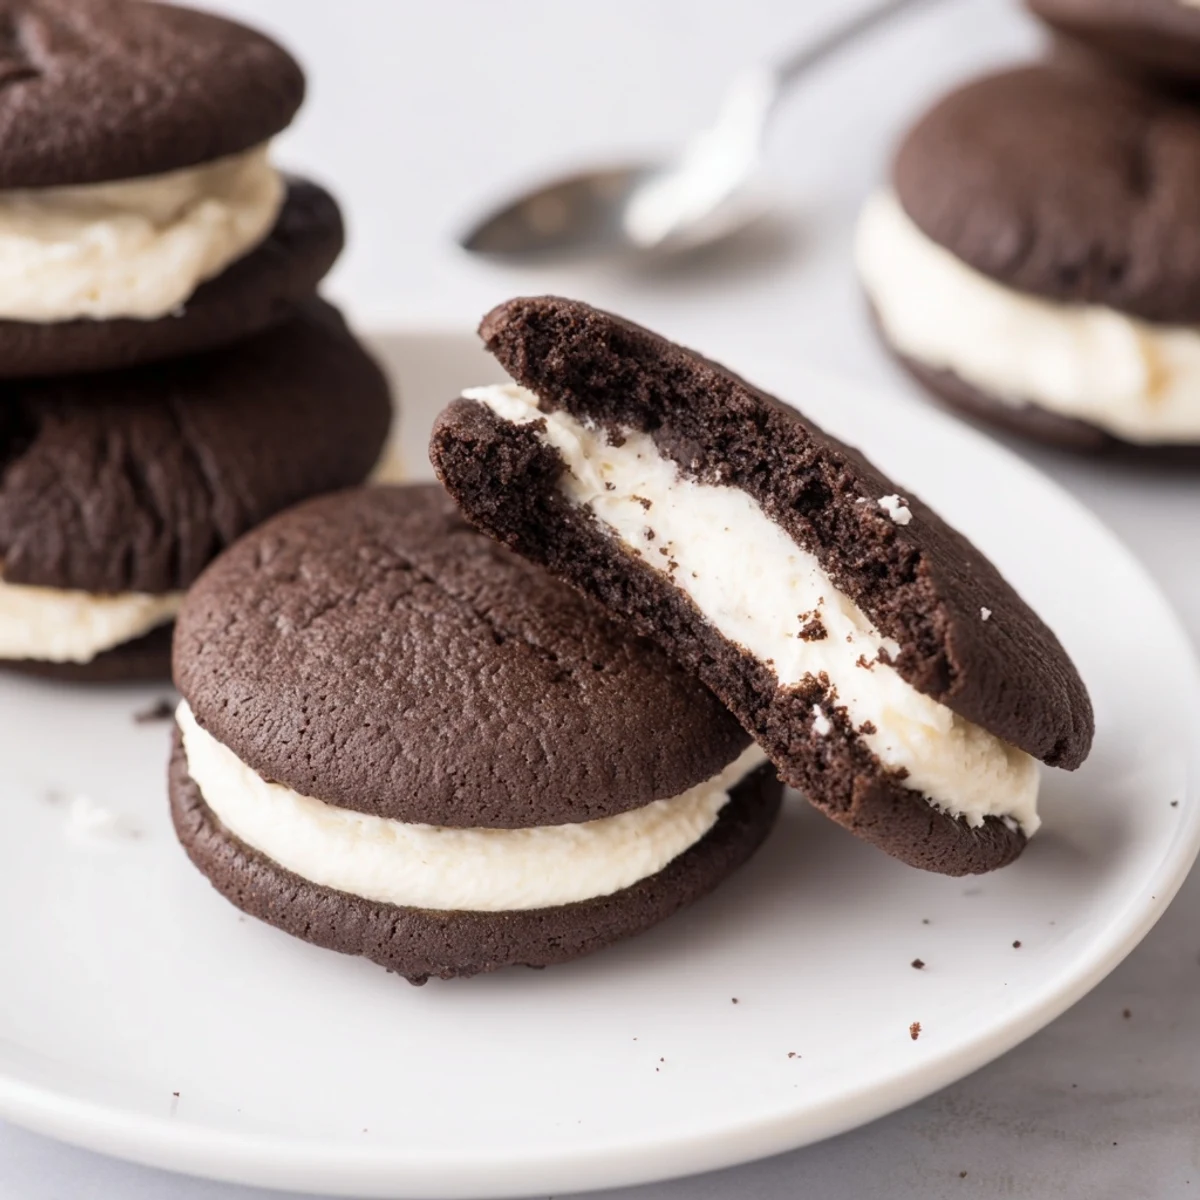
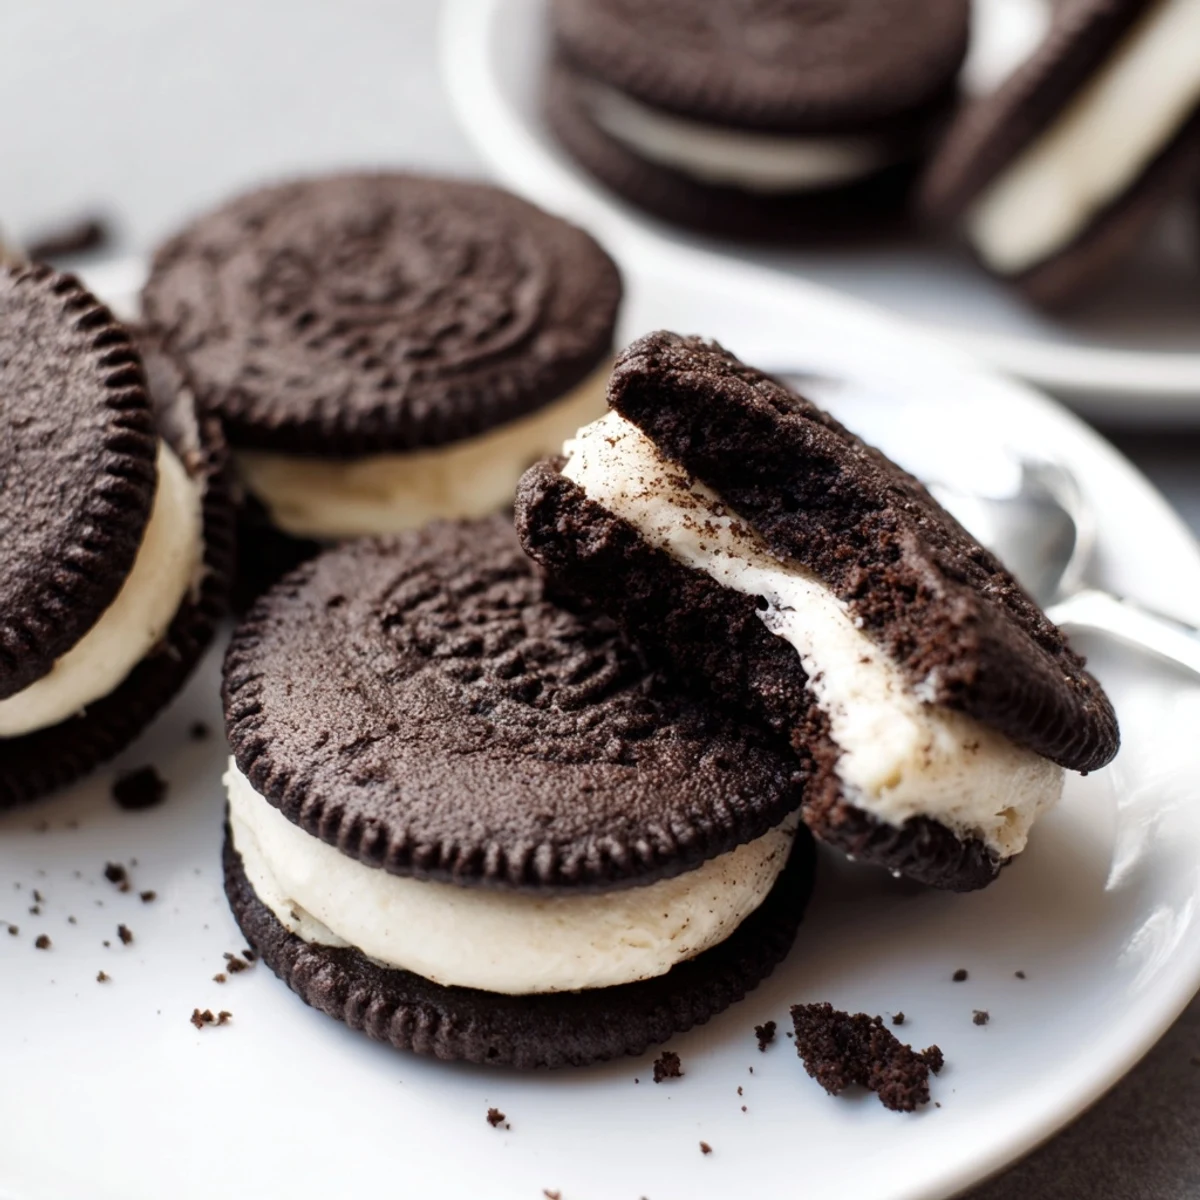
Save Classic dark chocolate sandwich cookies use Dutch-process cocoa and a sturdy dough that bakes in 10–12 minutes. Cream butter and sugar, add egg and vanilla, then fold in sifted flour, cocoa, baking soda and salt. Bake, cool, and sandwich with a whipped butter-shortening powdered sugar filling. Yields 18 cookies; total time about one hour. Great for dunking and gifting.
The kitchen smelled like a chocolate factory the afternoon my niece declared store bought cookies a betrayal after tasting her first homemade sandwich cookie.
She stood on a step stool dusted with cocoa powder and announced every sandwich needed exactly the right amount of filling, then proceeded to overfill every single one.
Ingredients
- 1 cup (125 g) all-purpose flour: The structural backbone, measured properly by spooning into the cup rather than scooping directly.
- ¾ cup (70 g) unsweetened Dutch-process cocoa powder: This is what gives the cookies their deep nearly black color and intense chocolate flavor.
- 1 cup (200 g) granulated sugar: Balances the bitterness of the cocoa and helps crisp the edges during baking.
- ½ tsp baking soda: A small amount keeps the cookies from becoming rocks while maintaining that satisfying snap.
- ¼ tsp salt: Just enough to sharpen the chocolate without making itself noticeable.
- ½ cup (115 g) unsalted butter, softened: Room temperature butter creams properly with sugar, creating tiny air pockets for better texture.
- 1 large egg: Binds everything together and adds richness to the dough.
- 1 tsp vanilla extract: A quiet background note that rounds out the chocolate.
- ¼ cup (60 g) unsalted butter, softened (for filling): Gives the filling its buttery personality and smooth mouthfeel.
- ¼ cup (55 g) vegetable shortening: The secret to that classic white filling texture that stays stable at room temperature.
- 1½ cups (180 g) powdered sugar, sifted: Sifting is nonnegotiable here, unless you enjoy lumpy filling.
- 1 tsp vanilla extract (for filling): Double down on vanilla here since this is the star of the cream center.
- Pinch of salt (for filling): Keeps the sweetness honest and balanced.
Instructions
- Get the oven ready:
- Preheat to 350°F (175°C) and line two baking sheets with parchment paper so nothing sticks and cleanup is effortless.
- Whisk the dry team:
- Sift the flour, cocoa powder, baking soda, and salt together in a bowl and watch how dark and fragrant it becomes.
- Cream butter and sugar:
- Beat the softened butter and granulated sugar until the mixture looks pale and fluffy, then beat in the egg and vanilla until everything is smooth and unified.
- Bring the dough together:
- Gradually add the dry ingredients to the wet mixture and mix until a stiff dark dough forms that pulls away from the bowl in a satisfying mass.
- Shape the cookies:
- Roll the dough into 1-inch balls and place them 2 inches apart on the sheets, then flatten each one gently with your palm or the bottom of a glass dipped in cocoa powder.
- Bake and cool:
- Bake for 10 to 12 minutes until set and slightly firm, let them rest on the sheet for 5 minutes, then transfer to a wire rack to cool completely before any filling happens.
- Make the cream filling:
- Beat the butter, shortening, powdered sugar, vanilla, and salt together until the mixture turns fluffy and smooth like the inside of every childhood dream.
- Assemble the sandwiches:
- Pipe or spread about 1 tablespoon of filling onto the flat side of half the cookies, then top with the remaining cookies and press gently until the cream reaches the edges.
- Let them settle:
- Give the assembled cookies 10 to 15 minutes to set so the filling firms up and everything holds together when you bite in.
 Save
Save My niece ate three in a row, got chocolate on her nose, and told me with absolute seriousness that we should open a bakery.
The Espresso Powder Trick
Adding a teaspoon of espresso powder to the dry ingredients does not make the cookies taste like coffee. What it does is deepen the chocolate flavor in a way that makes people close their eyes when they take a bite.
Butter versus Shortening in the Filling
You can replace the shortening entirely with more butter for a richer filling, and honestly it tastes wonderful. The tradeoff is that the center will be softer and less stable at room temperature, so the cookies need gentle handling.
Storing and Serving
These cookies keep beautifully in an airtight container at room temperature for up to five days, though in my house they rarely survive past day two. The texture actually improves after a few hours as the filling settles into the cookie.
- Dunking these in a cold glass of milk is not optional, it is essential.
- A piping bag makes neat work of the filling but a zip top bag with a corner snipped off works just as well.
- Always check ingredient labels if you are serving anyone with allergies, especially for hidden nut traces.
 Save
Save Some recipes are just dessert, but these are a reason to gather people around the kitchen counter with glasses of milk and absolutely no rush to be anywhere else.
Recipe FAQs
- → Can I swap shortening in the filling?
-
Yes. Replace shortening with an equal amount of softened butter for a richer, more buttery filling. The texture will be slightly softer and more flavorful.
- → How do I keep the sandwich cookies from cracking?
-
A slightly stiffer dough helps maintain shape. Chill dough briefly if it becomes too soft, flatten balls gently before baking, and avoid overbaking to reduce surface cracks.
- → Will espresso powder change the flavor much?
-
Adding 1 teaspoon of espresso powder intensifies chocolate notes without making the cookies taste like coffee. Dissolve it into the dry ingredients for even distribution.
- → How should I store assembled sandwiches?
-
Layer cookies in an airtight container at room temperature for up to 5 days, with parchment between layers to prevent sticking. Refrigeration can firm the filling but may soften cookies faster.
- → What causes a cakey versus crisp cookie?
-
Higher moisture and more leavening yield cakier cookies; a slightly firmer dough and minimal leavening promote a crisper bite. Bake until set but not browned for a tender center.
- → Are there adjustments for high-altitude baking?
-
At high altitudes reduce baking soda slightly, decrease sugar by a tablespoon if needed, and increase oven temperature by 15–25°F to help structure set quickly.