
 Save
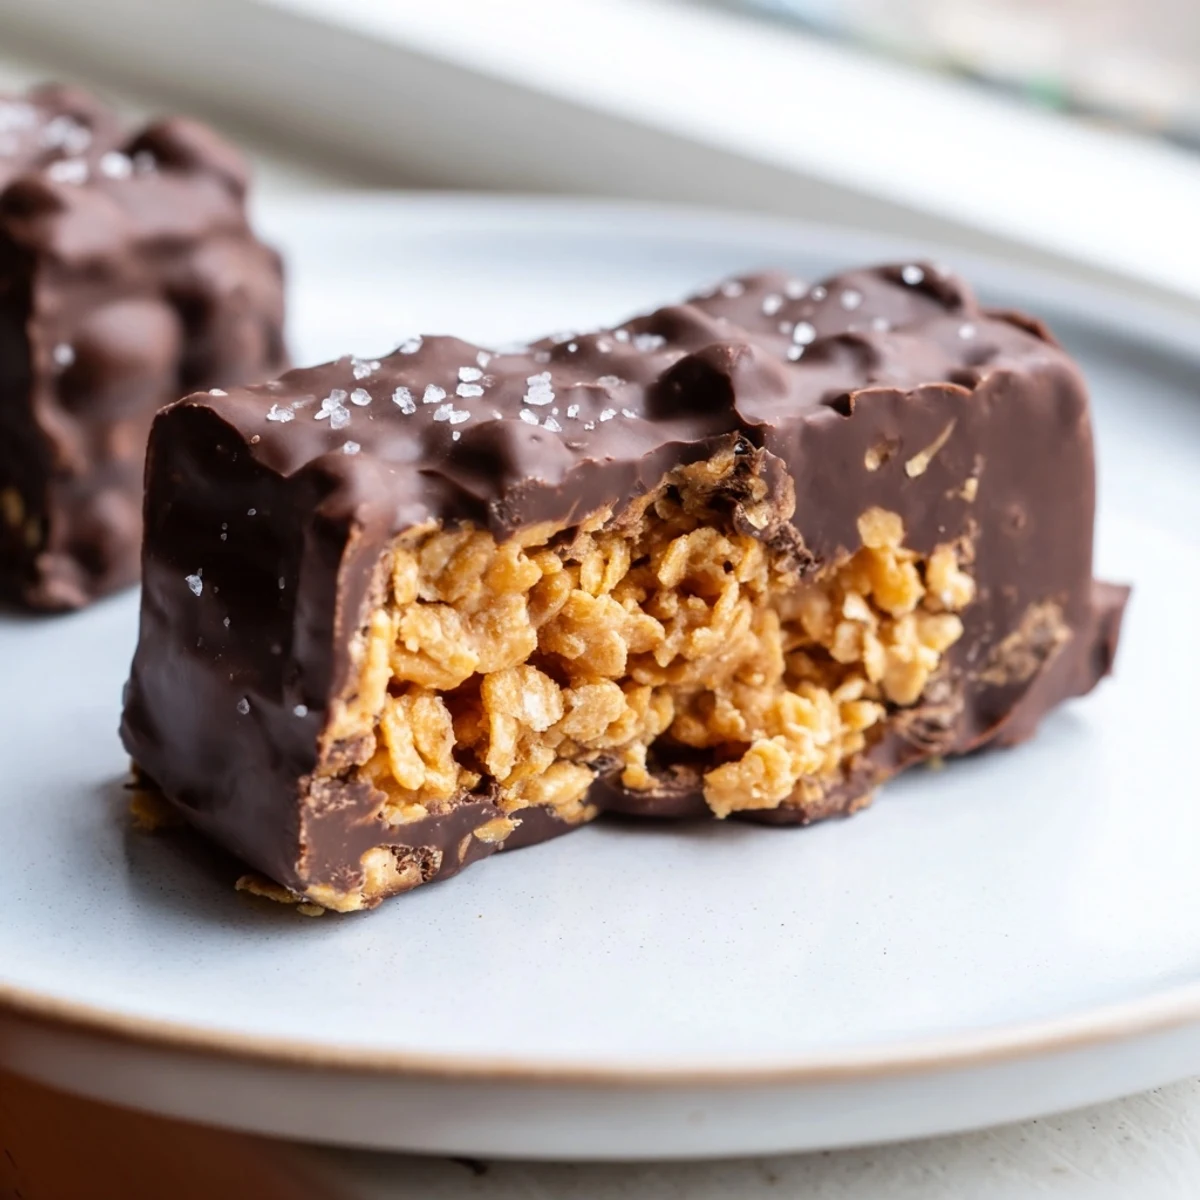
Save These healthy homemade Butterfingers deliver everything you love about the classic candy bar with a wholesome twist. A crunchy peanut butter and corn flake center is enrobed in velvety dark chocolate, creating irresistible layers of texture and flavor.
Ready in under an hour with no baking required, they're perfect for meal prep or a fun weekend cooking project. Naturally vegetarian and easily made vegan and gluten-free, these bars keep well in the fridge for up to a week or can be frozen for longer storage.
The candy aisle at the grocery store used to call my name every single checkout trip, especially those orange labeled Butterfinger bars with their flaky peanut butter center. One rainy Saturday, my niece challenged me to make a version that wouldnt leave us both in a sugar coma by noon. We demolished the entire first batch before the chocolate had fully set, standing right over the parchment paper like we had no self control whatsoever. That sticky fingered afternoon turned into the most requested treat in my kitchen.
I brought a plate of these to a friends potluck last fall and watched three people argue about whether they were store bought, which remains one of my proudest kitchen moments. My friend Carlos now texts me every two weeks asking if Ive made another batch, and I always pretend I havent just so I can surprise him.
Ingredients
- Natural creamy peanut butter (1 cup): Use the kind with just peanuts and salt on the label because the stabier stuff with added oils changes the texture entirely.
- Pure maple syrup or honey (1/2 cup): Maple syrup keeps this vegan friendly and adds a subtle caramel depth that honey doesnt quite match.
- Corn flakes, lightly crushed (2 cups): Do not pulverize them into dust because you want irregular flakes that mimic that classic Butterfinger snap.
- Dark chocolate chips, at least 70 percent cacao (1 and 1/2 cups): The higher cacao percentage balances the sweetness of the peanut butter filling beautifully.
- Coconut oil (1 tablespoon): This tiny addition makes the chocolate coating glossy and gives it a satisfying snap when you bite in.
Instructions
- Prep your pan:
- Tear off a sheet of parchment paper and press it into an 8 by 8 inch baking dish, letting the edges hang over like handles for easy removal later.
- Melt the base:
- Set your saucepan over low heat and stir the peanut butter and maple syrup together until they melt into one golden, glossy puddle that smells like every good thing in your childhood kitchen.
- Fold in the crunch:
- Take the pan off the heat and gently fold in the crushed corn flakes with a spatula, coating every last flake without crushing them further.
- Press and freeze:
- Transfer the warm mixture into your lined dish and press it down firmly with the back of a spoon or your palms, then slide it into the freezer for 20 to 30 minutes until it holds together like a solid slab.
- Melt the chocolate:
- Set a heatproof bowl over a pan of barely simmering water and stir the chocolate chips with the coconut oil until the mixture turns into a silky, pourable pool with no lumps remaining.
- Cut and dip:
- Pull the frozen peanut butter slab from the freezer, slice it into 12 even bars, then lower each one into the chocolate with a fork, tapping off the excess before placing them on a fresh parchment lined tray.
- Set and wait:
- Refrigerate the coated bars for at least 20 minutes, though honestly the hardest part of this entire recipe is waiting that long before eating one.
 Save
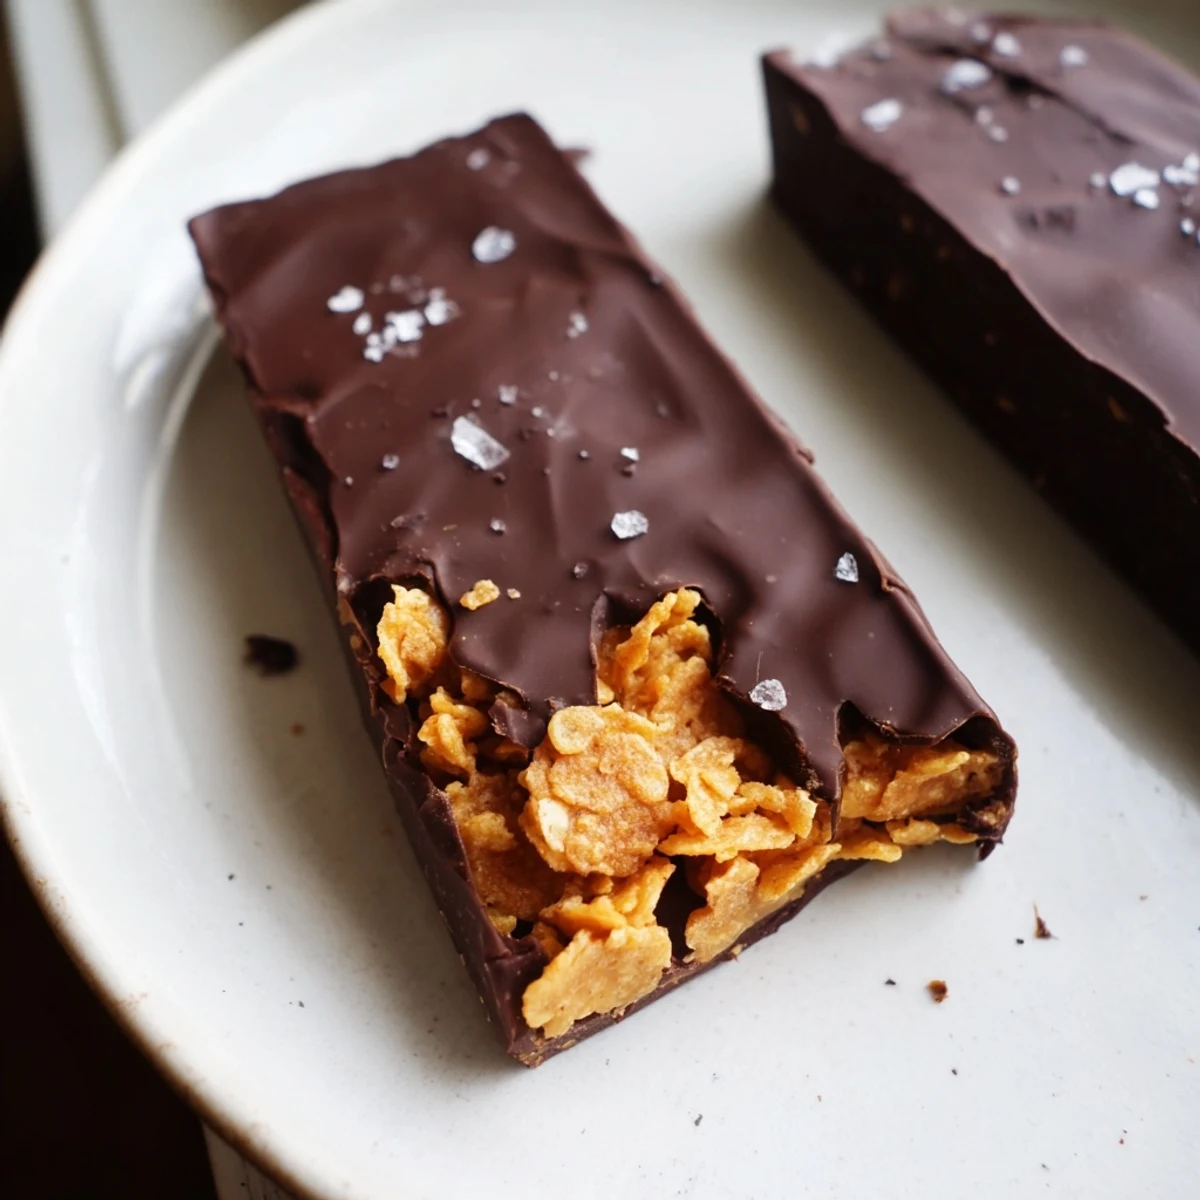
Save There is something deeply satisfying about snapping one of these bars in half and hearing that crisp crack echo through a quiet kitchen.
Storing Your Candy Bars
Keep these in an airtight container in the refrigerator and they stay perfect for up to a week, though mine have never lasted more than three days. You can also freeze them layered between sheets of parchment for up to two months, which means you can always have a stash ready for unexpected guests or late night cravings.
Swaps and Substitutions
Almond butter works beautifully if peanuts are off the table, and sunflower seed butter is your best bet for a nut free version that still tastes incredible. For vegans, stick with maple syrup and double check that your dark chocolate has no dairy lurking in the ingredients list.
Final Thoughts Before You Start
These bars are wonderfully forgiving and almost impossible to ruin, which makes them a perfect project for a first time candy maker. The corn flakes will keep their crunch better if you store the finished bars chilled rather than at room temperature.
- A tiny sprinkle of flaky sea salt on top of each bar right after dipping takes these from great to extraordinary.
- If your chocolate starts to thicken while dipping, simply warm the bowl over your simmering water for another 30 seconds.
- Remember that slightly imperfect chocolate coating just means they look homemade and people love that.
 Save
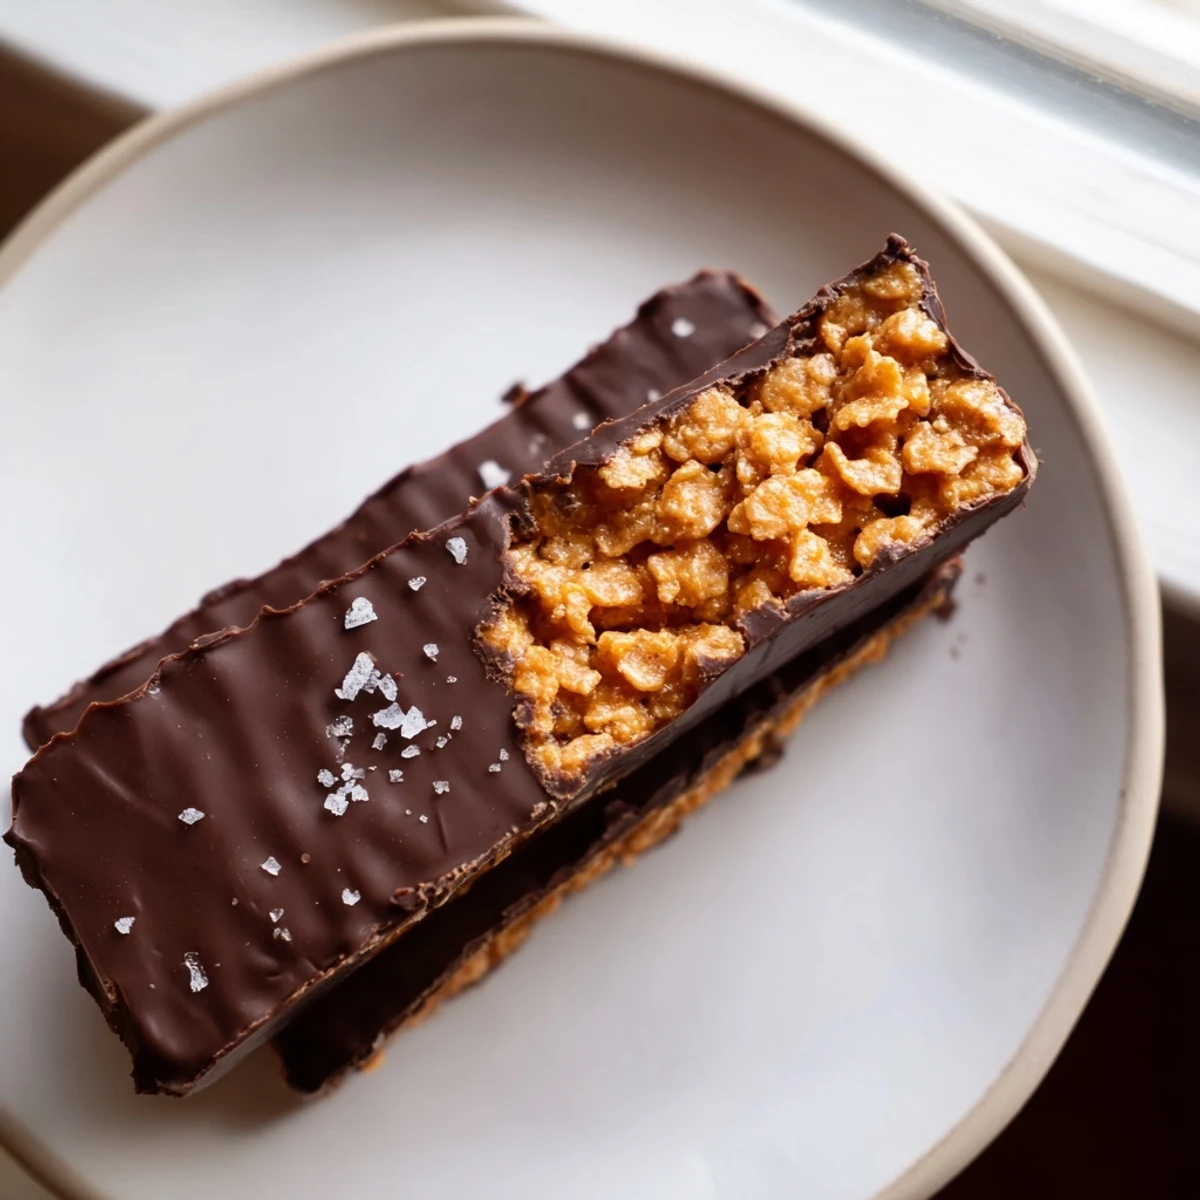
Save Every time I make these, I think about that rainy afternoon with my niece and how a little kitchen experimenting turned into something we both crave year round. Share them generously, or hide a few in the back of the fridge for yourself.
Recipe FAQs
- → Can I make these Butterfingers vegan?
-
Yes, simply use maple syrup instead of honey and choose a dairy-free dark chocolate with at least 70% cacao. Most high-quality dark chocolates are naturally vegan, but always check the label for milk solids.
- → How should I store the finished bars?
-
Store bars in an airtight container in the refrigerator for up to one week. For longer storage, freeze them for up to three months. Let frozen bars thaw in the fridge for about 30 minutes before enjoying.
- → Can I substitute the peanut butter?
-
Absolutely. Almond butter, sunflower seed butter, or cashew butter all work well as alternatives. Keep in mind that sunflower seed butter can sometimes turn slightly green when baked or frozen due to a natural reaction with chlorophyll, which is harmless.
- → Why do my corn flakes need to be lightly crushed?
-
Lightly crushing the corn flakes creates the signature crunchy texture reminiscent of traditional Butterfingers. If left whole, they're too bulky and the bars won't hold together well. If crushed too finely, you lose that satisfying crunch. A gentle press with your hands or a quick pulse in a bag works perfectly.
- → What's the best way to melt the chocolate coating?
-
The double boiler method provides the most controlled, even melting without burning. Place a heatproof bowl over a saucepan of barely simmering water, ensuring the bowl doesn't touch the water. Stir gently until smooth. The coconut oil helps thin the chocolate for easier dipping and adds a beautiful shine.
- → Can I use milk chocolate instead of dark chocolate?
-
Yes, milk chocolate works if you prefer a sweeter coating. However, dark chocolate with at least 70% cacao balances the sweetness of the peanut butter filling beautifully and adds beneficial antioxidants. Semi-sweet chocolate chips are also a great middle-ground option.