 Save
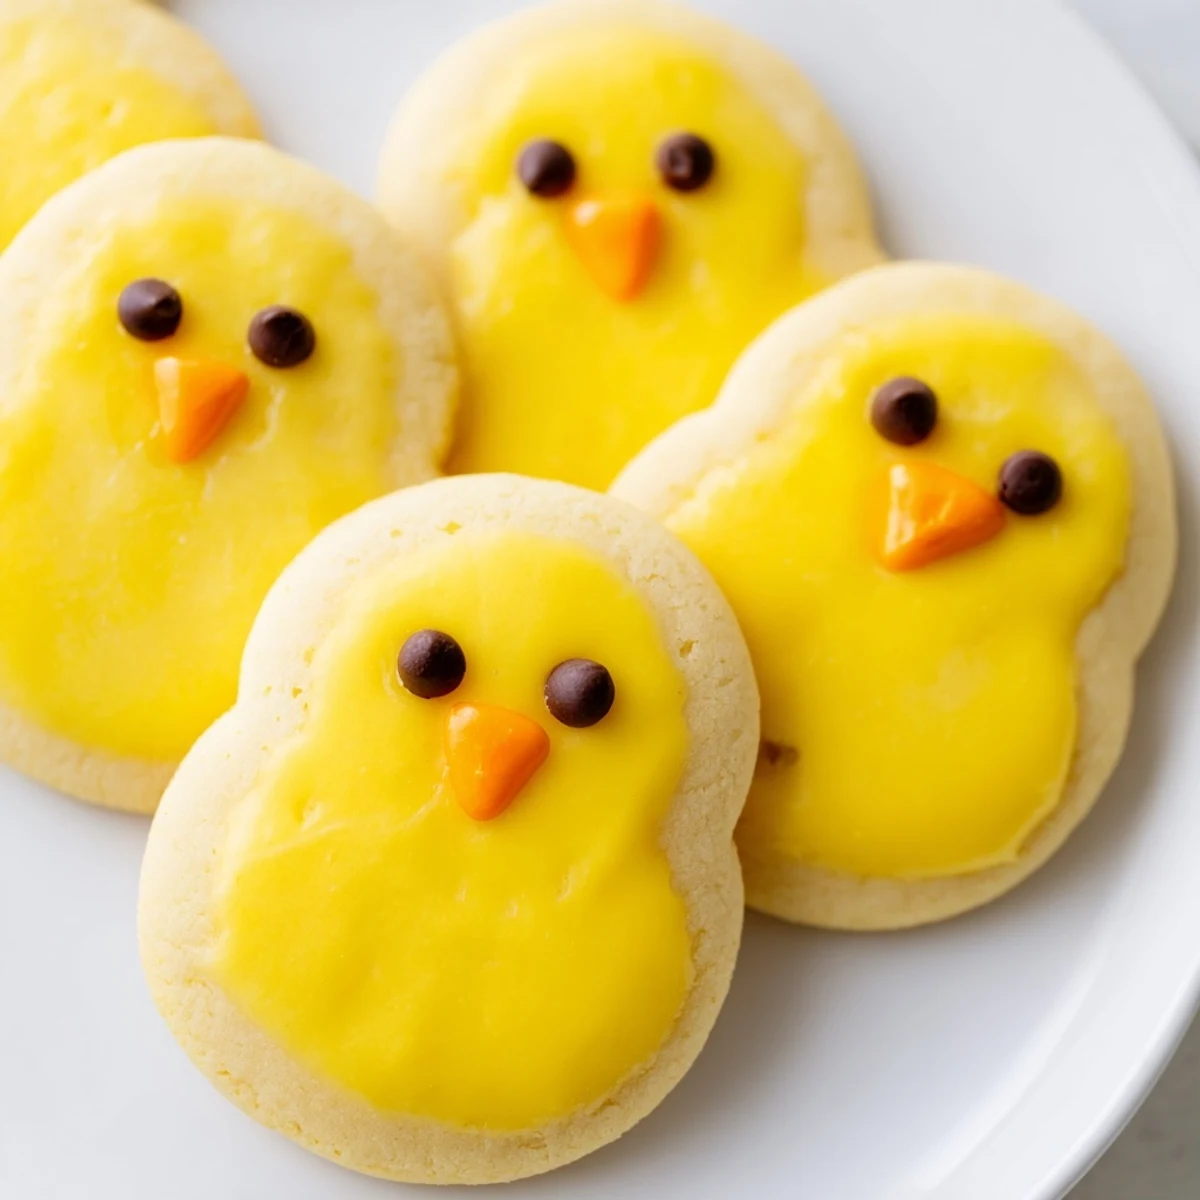
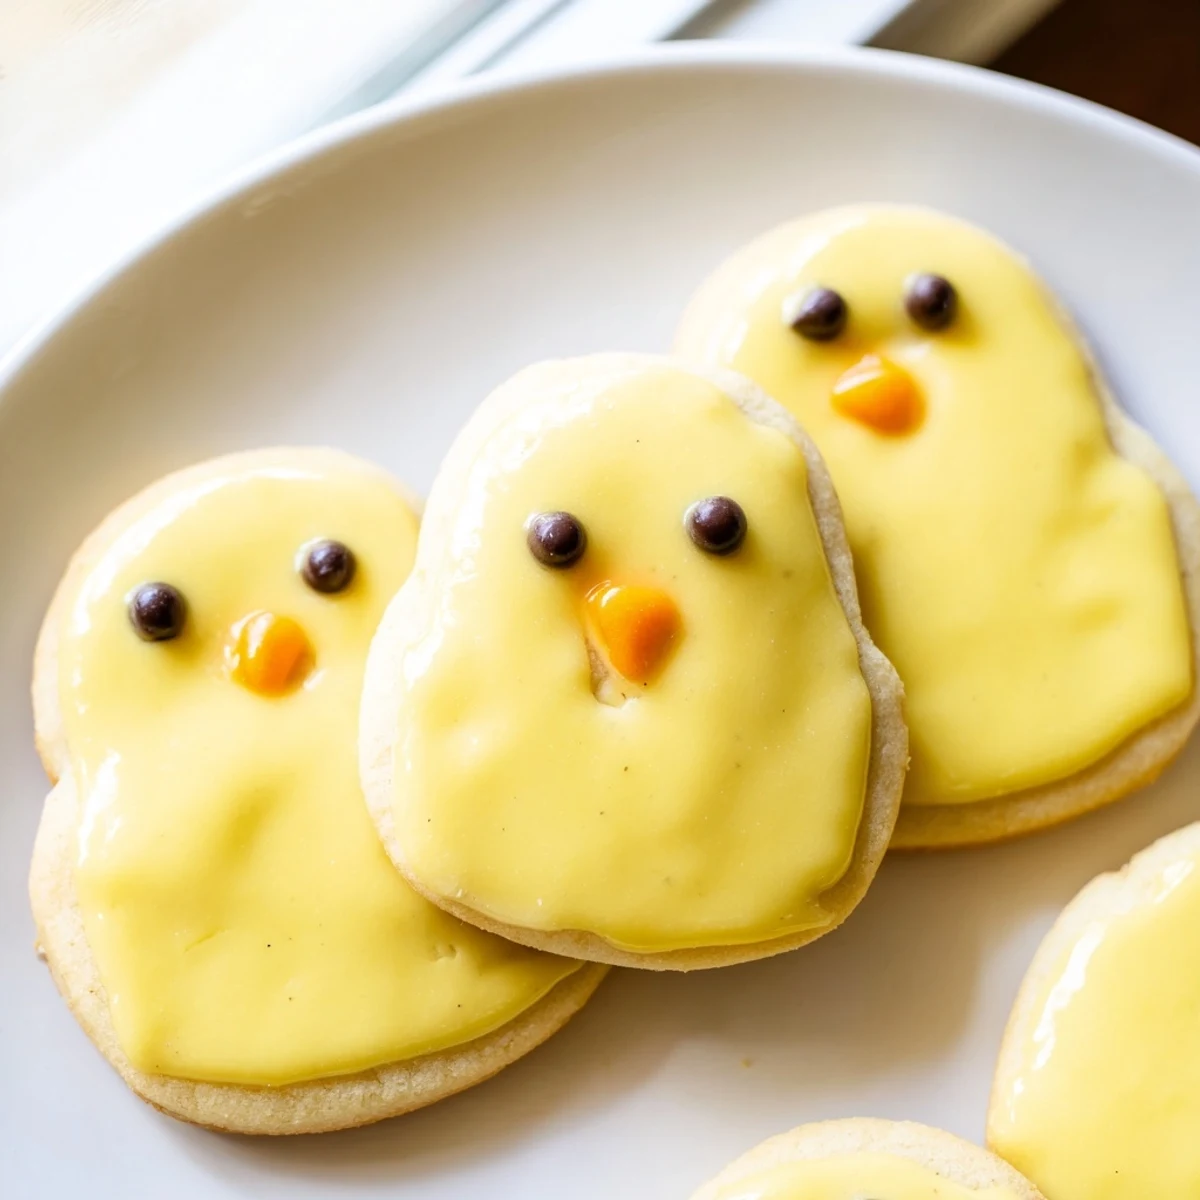
Save These delightful chick-shaped cookies start with a classic buttery sugar dough, tinted sunny yellow and formed into cute two-part bodies. The straightforward technique involves rolling balls for bodies and heads, gently pressing them together before baking until edges are lightly golden. A simple powdered sugar glaze adds shine while black and orange decorative details bring these springtime treats to life. The entire process takes just 30 minutes from start to finish, yielding 24 adorable cookies perfect for seasonal celebrations.
My niece declared we needed something ridiculously cute for her spring birthday, and these buttery little chicks were the result. The entire kitchen smelled like vanilla while she carefully pressed tiny chocolate chip eyes onto each cookie. It became one of those rare baking projects where the mess was half the fun.
Last spring I made three batches back to back because adults kept stealing them off the kids dessert table. Something about those tiny faces makes people forget they are taking seconds.
Ingredients
- 2 1/4 cups all-purpose flour: The foundation that gives these cookies their tender crumb structure.
- 1/2 teaspoon baking powder: Helps the chicks puff just slightly while maintaining their shape.
- 1/4 teaspoon salt: Balances the sweetness and brings out the vanilla flavor.
- 3/4 cup unsalted butter at room temperature: Cold butter creates tough dough so let it soften properly for that melt in your mouth texture.
- 3/4 cup granulated sugar: Sweetens the dough while creating the perfect crisp edges.
- 1 large egg: Binds everything together and adds richness.
- 1 teaspoon vanilla extract: Pure vanilla makes all the difference in classic sugar cookies.
- Yellow food coloring: Gel coloring gives the most vibrant sunny hue without thinning the dough.
- 3/4 cup powdered sugar mixed with 2 tablespoons milk: Creates the optional shiny glaze finish.
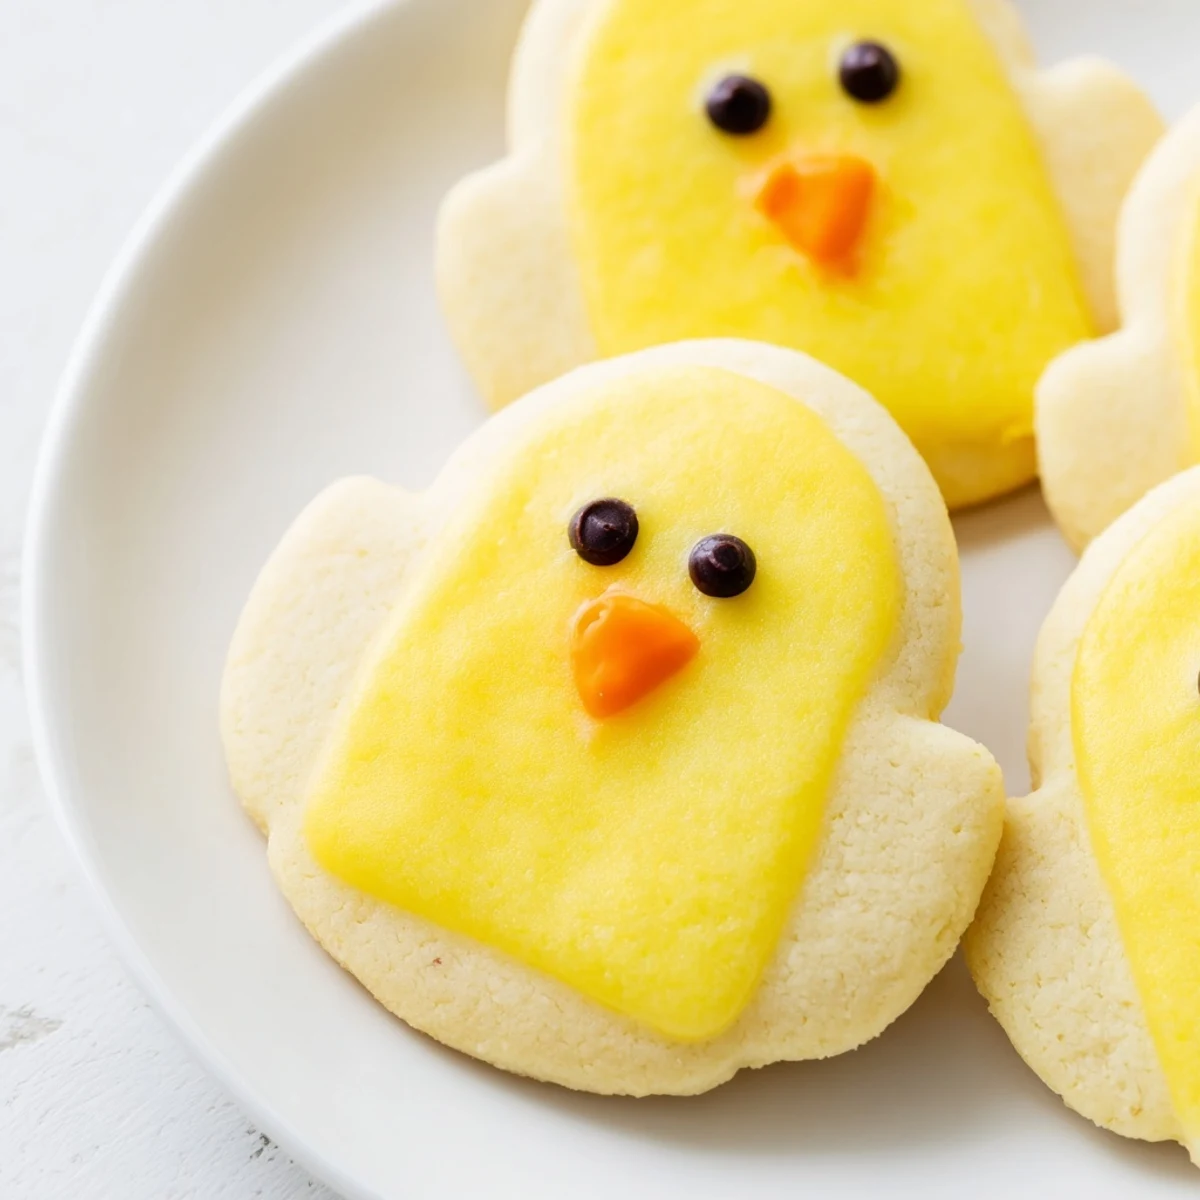
- Black decorating gel or mini chocolate chips: For the eyes that bring these chicks to life.
- Orange decorating gel or candy: Perfect for those tiny beaks that make everyone smile.
Instructions
- Preheat your oven to 350°F and line baking sheets with parchment paper:
- This prevents sticking and makes cleanup so much easier later.
- Whisk together flour baking powder and salt in a medium bowl:
- Sifting or whisking well eliminates lumps that could create tough spots in your cookies.
- Cream butter and sugar until light and fluffy:
- Beat for about 2 to 3 minutes until the mixture looks pale and airy for the best texture.
- Add the egg and vanilla beating until fully incorporated:
- Scrape down the sides to ensure everything is evenly mixed.
- Gradually mix in the dry ingredients:
- Stop as soon as the flour disappears to keep the dough tender.
- Add yellow food coloring and knead until evenly colored:
- Start with a few drops and add more until you reach that perfect spring yellow shade.
- Roll dough into 1 inch balls:
- Create one larger ball for the body and a smaller ball for the head pressing them gently together.
- Place on baking sheets about 2 inches apart:
- They need space to spread slightly while baking.
- Bake for 8 to 10 minutes until edges are just barely golden:
- Underbaking slightly keeps them soft and chewy rather than crisp.
- Let cool completely before decorating:
- Warm cookies will make the gel eyes run and the decorations slide right off.
- Brush with optional glaze and add faces:
- The glaze adds a lovely shine but the eyes and beaks are what truly complete each chick.
 Save
Save These have become my go to when I need something that makes people actually gasp when they see the dessert table.
Making Ahead
The dough freezes beautifully for up to three months so you can bake fresh chicks whenever spring celebrations pop up unexpectedly.
Decoration Ideas
Sprinkles or colored sugars pressed into the dough before baking add extra sparkle without much extra effort.
Flavor Variations
Half a teaspoon of lemon zest folded into the dough creates a bright citrus version that feels especially refreshing for spring gatherings.
- Add almond extract instead of vanilla for a nutty twist that pairs beautifully with the buttery base.
- Try orange food coloring with tiny feet to turn them into Easter chicks instead.
- A pinch of cinnamon in the dough gives them a cozy warmth that still works with the cute presentation.
 Save
Save There is something magical about serving cookies that make adults smile just as big as the kids.
Recipe FAQs
- → Can I make the dough ahead of time?
-
Yes, the dough can be prepared up to 2 days in advance. Wrap tightly in plastic wrap and refrigerate until ready to shape and bake. Let soften slightly at room temperature before rolling.
- → What if I don't have food coloring?
-
Natural yellow works beautifully, or try turmeric or saffron for subtle golden hues. Alternatively, leave them plain and decorate with yellow sprinkles or colored sugars after glazing.
- → Can I freeze these cookies?
-
Undecorated baked cookies freeze well for up to 3 months. Thaw completely before adding glaze and facial decorations. Add decorations just before serving for best results.
- → How do I prevent the chick heads from separating during baking?
-
Gently press the head and body balls together firmly before baking. If dough feels too soft, chill for 15 minutes first to help the parts maintain their connection in the oven.
- → What can I use instead of decorating gel?
-
Mini chocolate chips work perfectly for eyes. For beaks, try small orange candy pieces, cut-up orange fruit snacks, or piped orange frosting mixed with a drop of food coloring.
- → Can I double this batch?
-
Absolutely. The recipe scales easily. Just ensure you have enough baking sheets to bake in batches without overcrowding, which can cause uneven cooking.